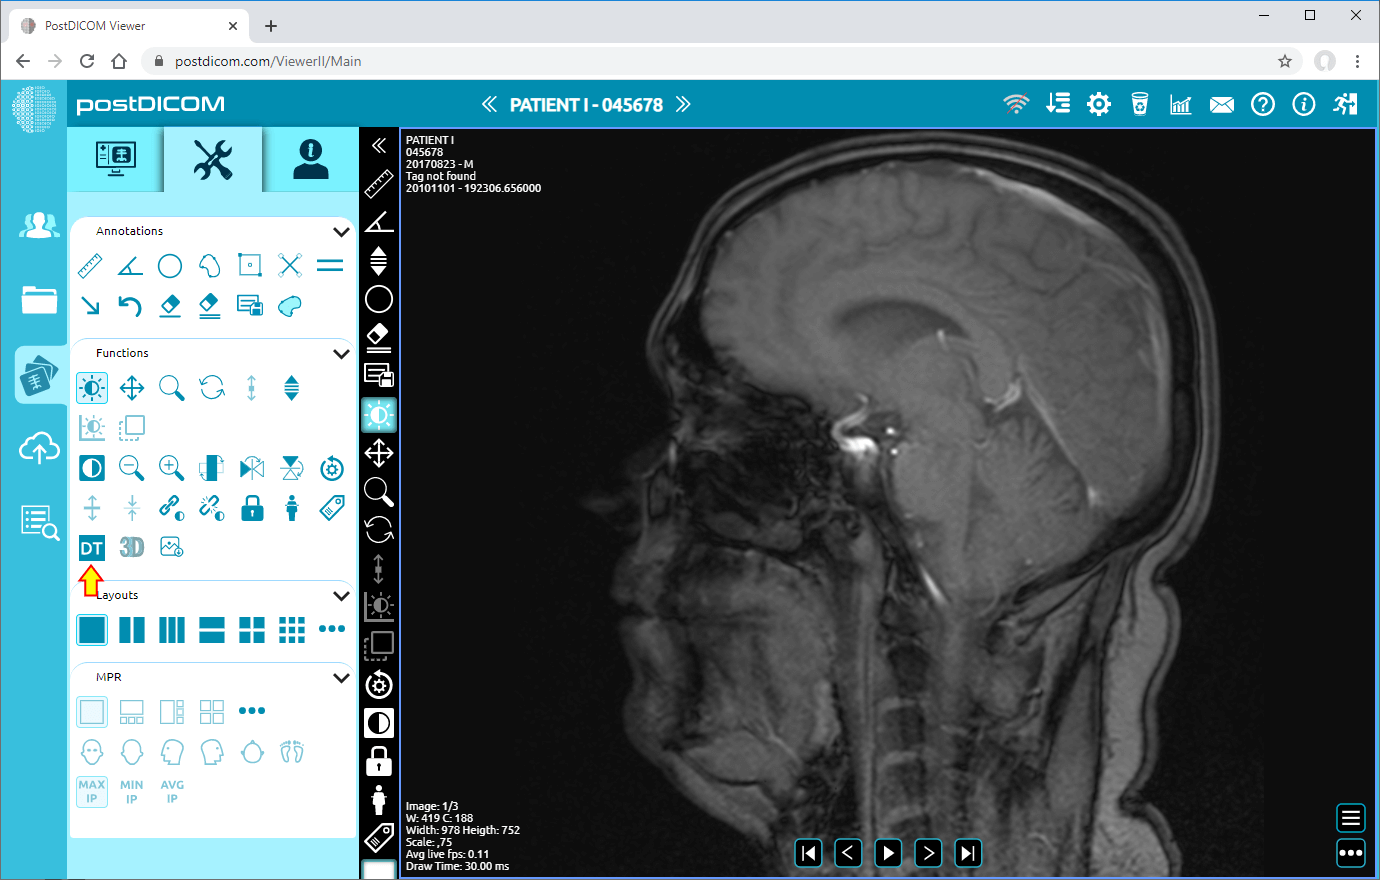
On “Patient Search” page, all patient orders at your account will be shown. Double click on the order you want to view the images and then “View” page will be opened. Click on “Tools” icon on the upper left side of the page.
After clicking, tools section will be displayed.
In order to view DICOM tags of an image, click on “Get DICOM Tags” icon on the left side of the page in “Functions” field.
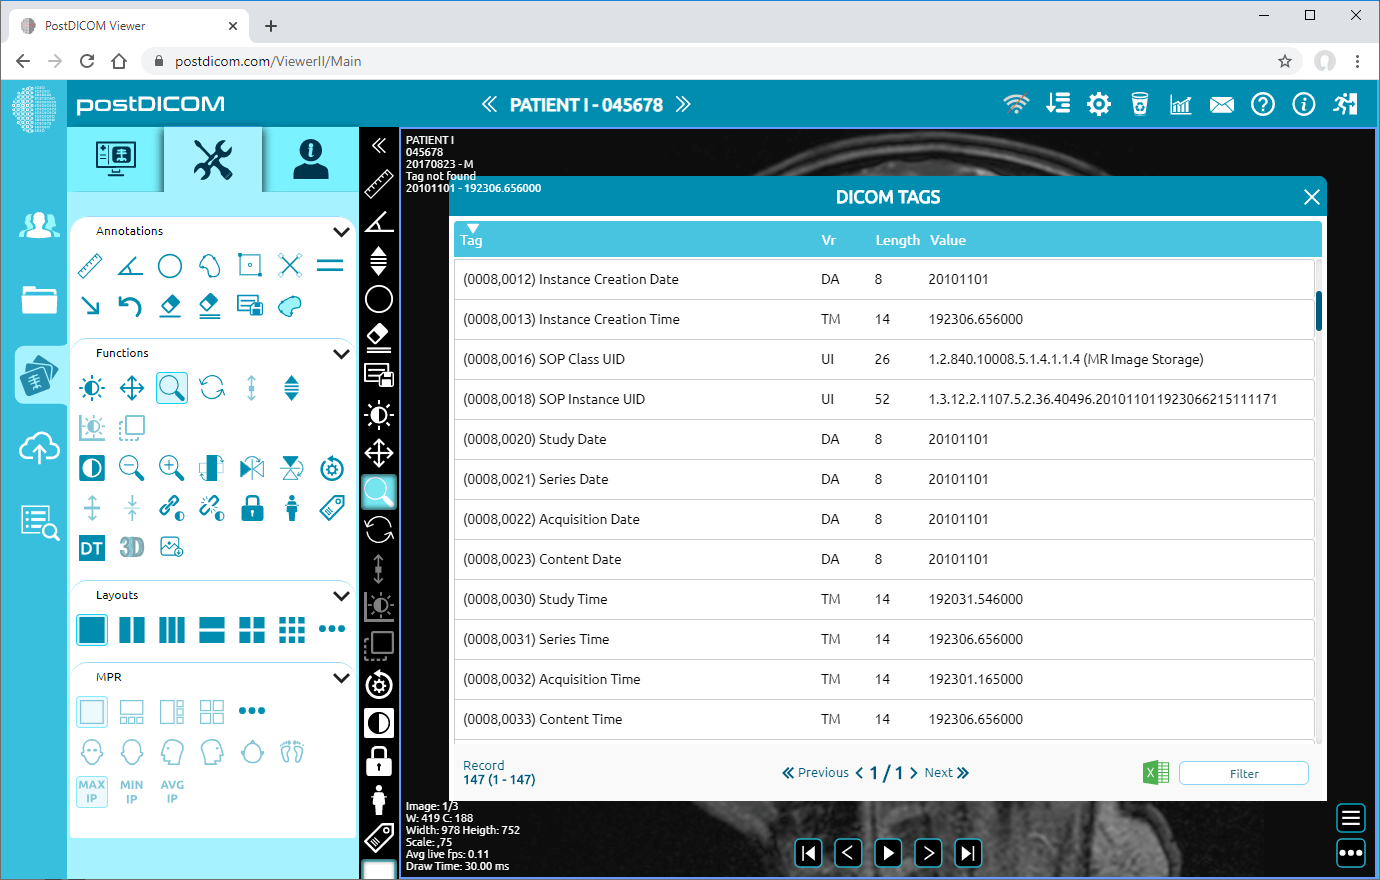
When you click on the icon, DICOM Tags form will be opened. DICOM Tags results are shown with tag, VR, Length and Value columns. You can sort the tags by clicking on these columns. The orders will be sorted accordingly the column you clicked on.
You will see “Record” section on the lower left corner of the form. The first figure in front of the parentheses indicates the total number of the tags. The figures in the parentheses indicate the first and the last row number of tags on the displayed page, respectively.
You can navigate through pages by clicking on “Previous” and “Next” button on the lower of the page. The figures between these buttons indicate the current page number and last page number, respectively.
For filtering the DICOM tags, fill “Filter” field on the lower right side of the form and the tags will be filtered automatically without having to click any command button. You can clear the “Filter” field to remove filtering.
If you want to close DICOM tags form, click on the cross icon on the upper right side of the form.