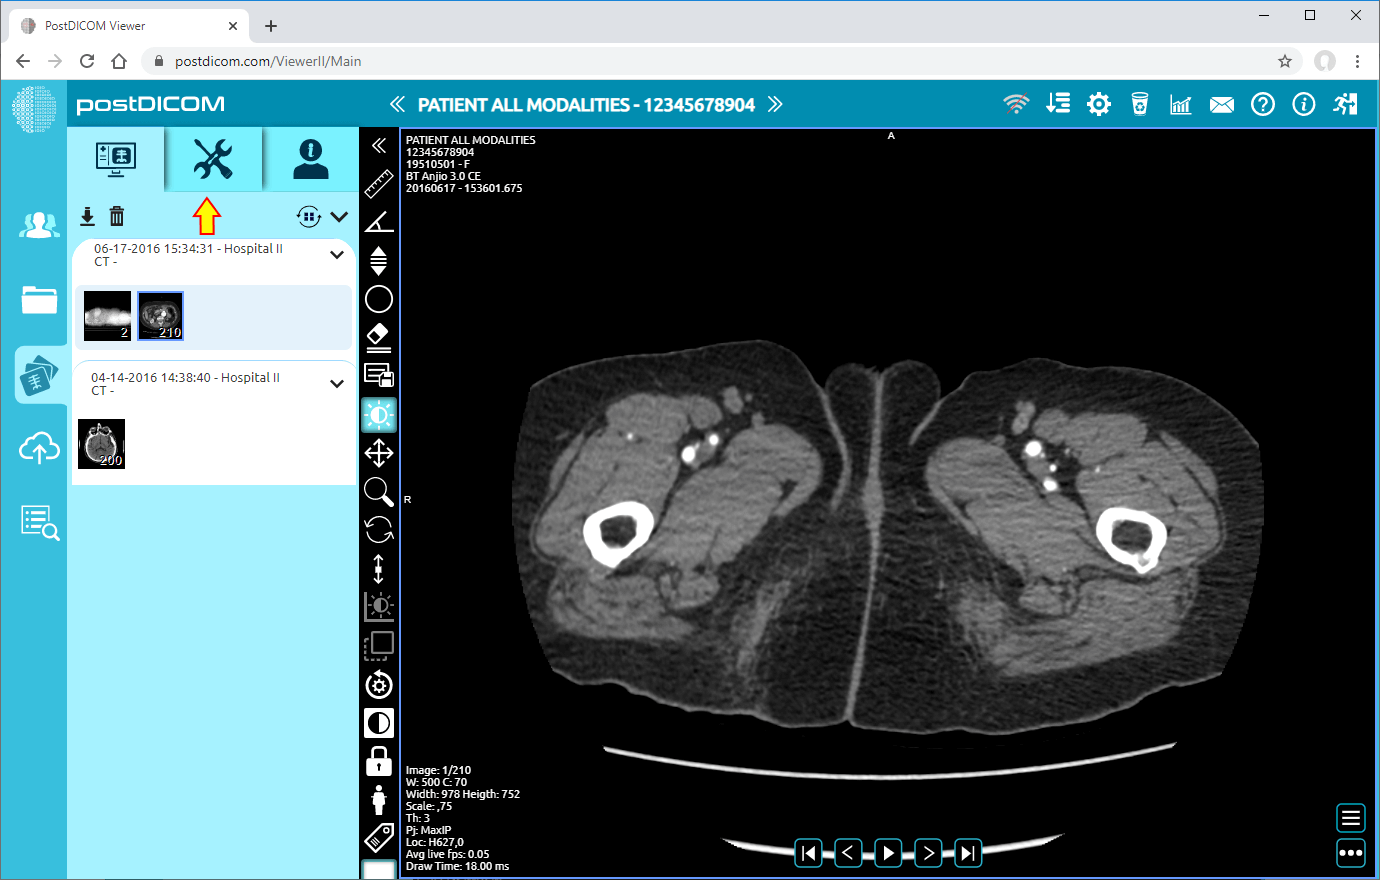
On "Patient Search" page, you will see all patient orders at your account. Double click on the order you want to view the images and then "View" page will be opened. Click on "Tools" icon on the upper left side of the page.
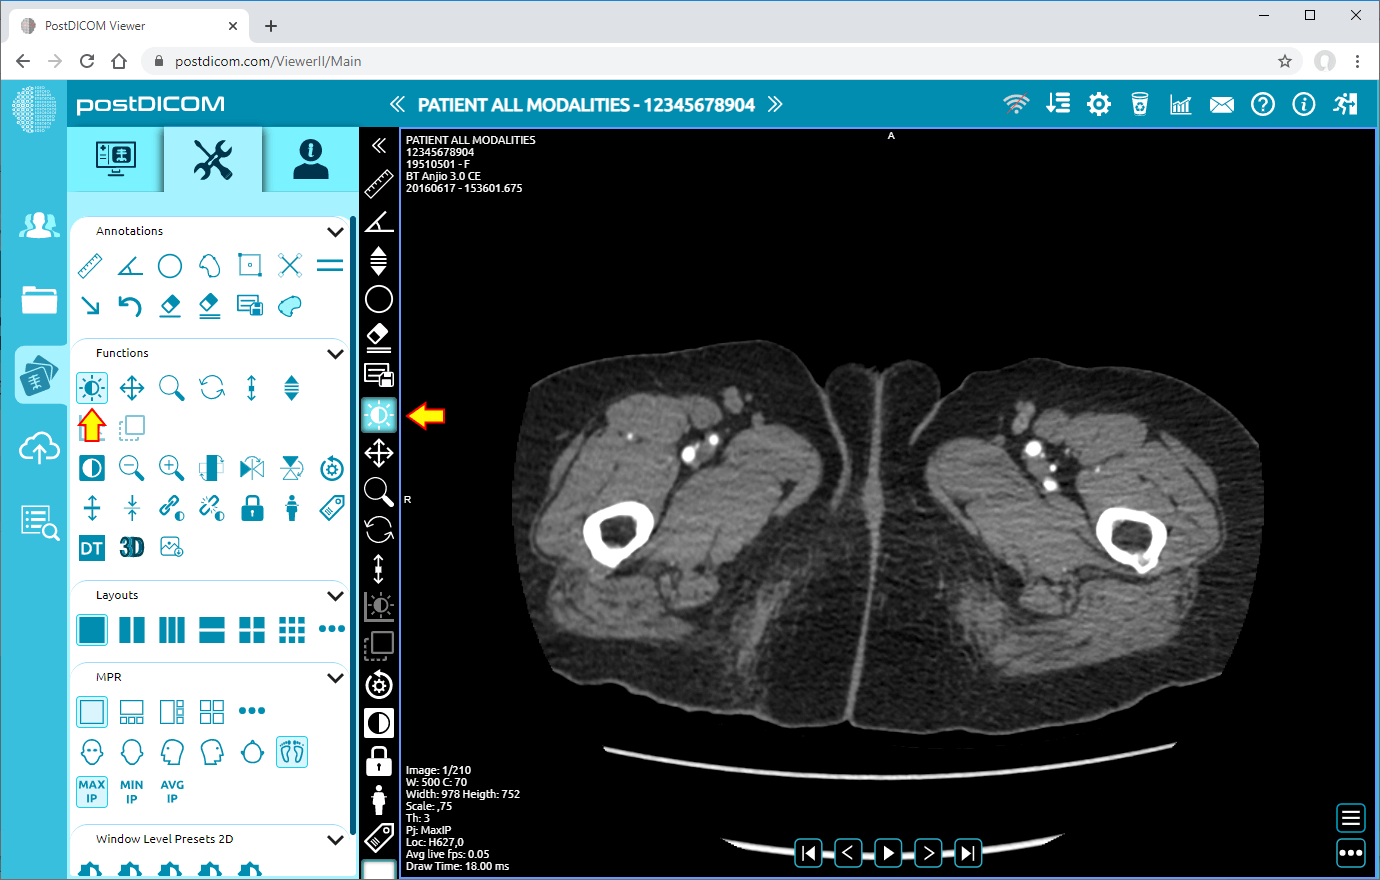
After you have clicked, tools section will be displayed.
Window Level
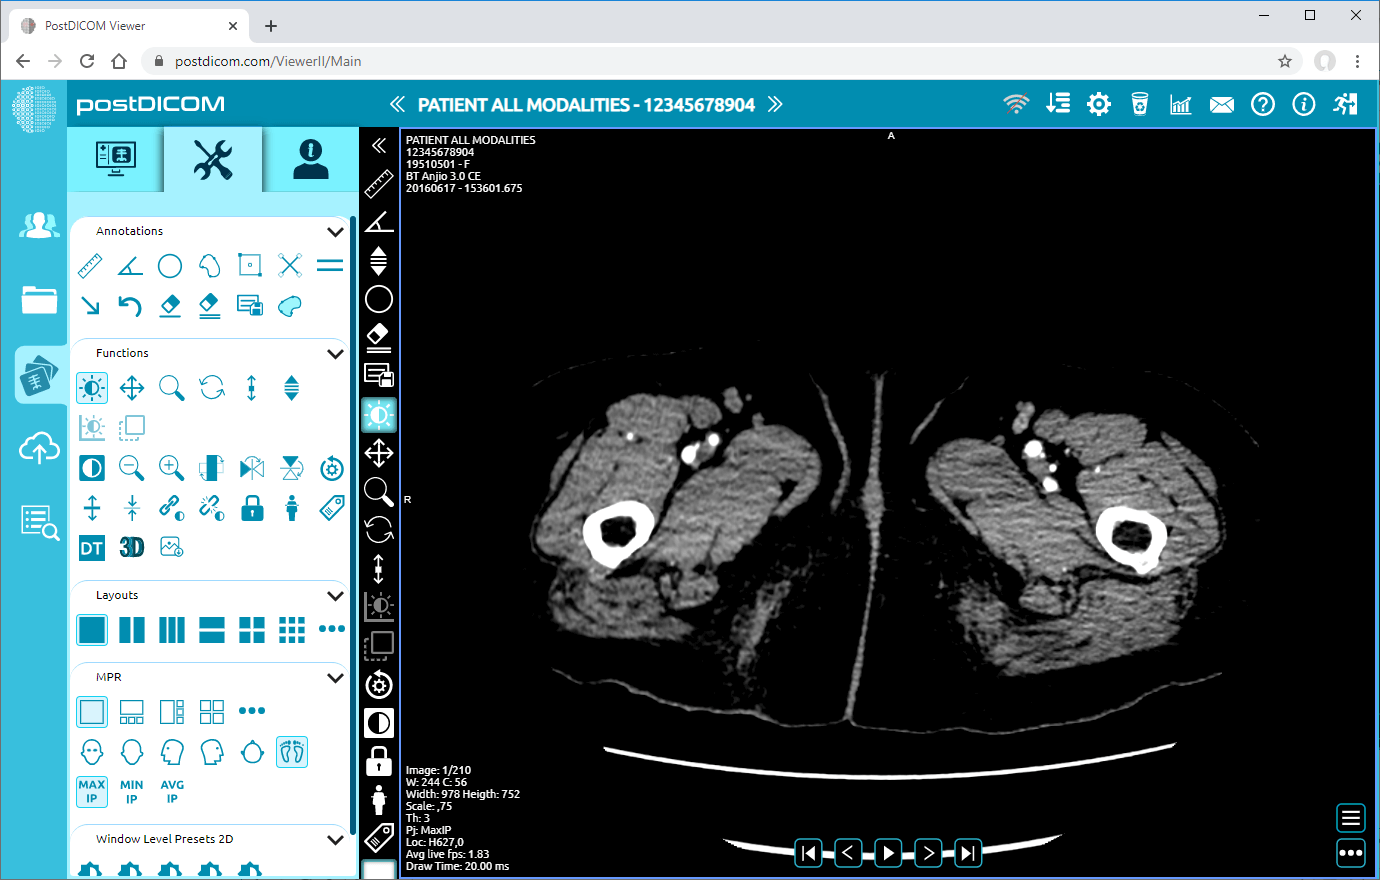
This is the default function in window level, pan, zoom, rotate, thickness and scroll group. When you open the tools section you will see that it is selected. If another function is selected and you want to return to window level function, click on "Window Level" icon. Also it can be selected from mini tools section.
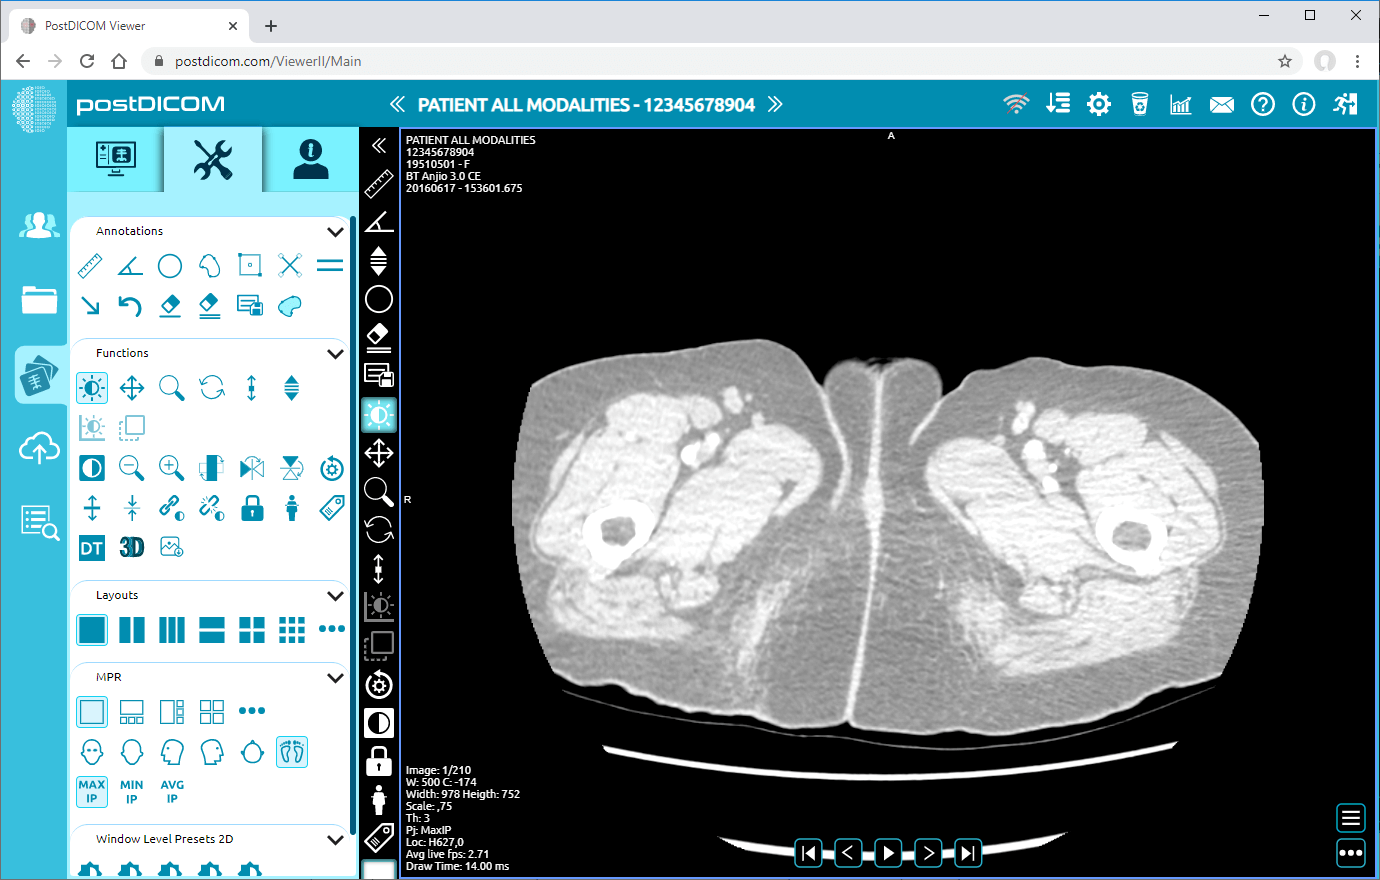
While “Window Level” is selected, click and hold on image. Move your cursor to left to decrease Window Center (increase brightness) value.
Likewise, move your cursor to the right to increase Window Center (decrease brightness) value.
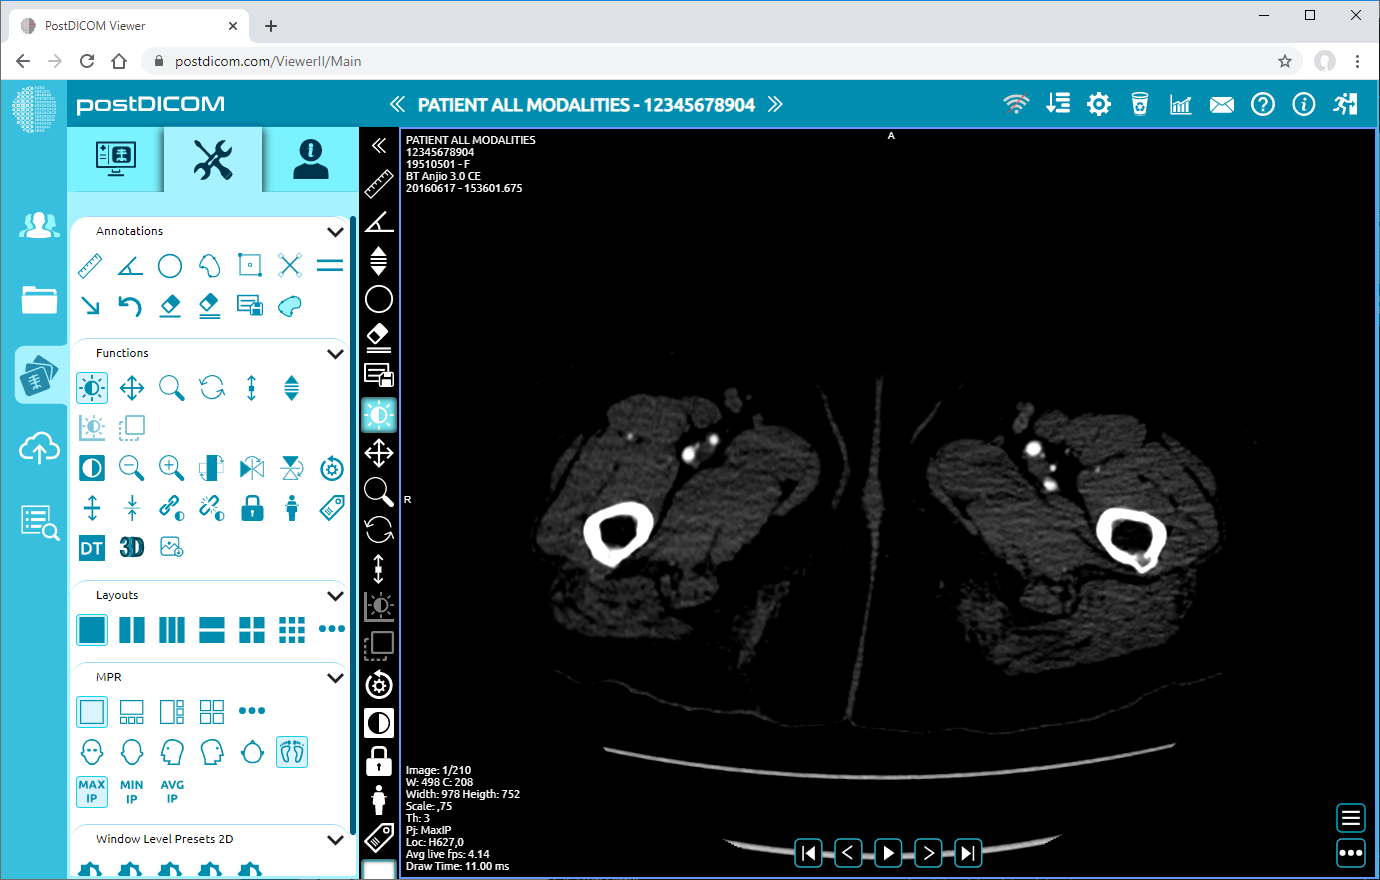
While "Window Level" is selected, click and hold on image. Move your cursor to up to decrease Window Width (increase contrast) value.
Likewise, move your cursor to downward to increase Window Width (decrease contrast) value.
Pan
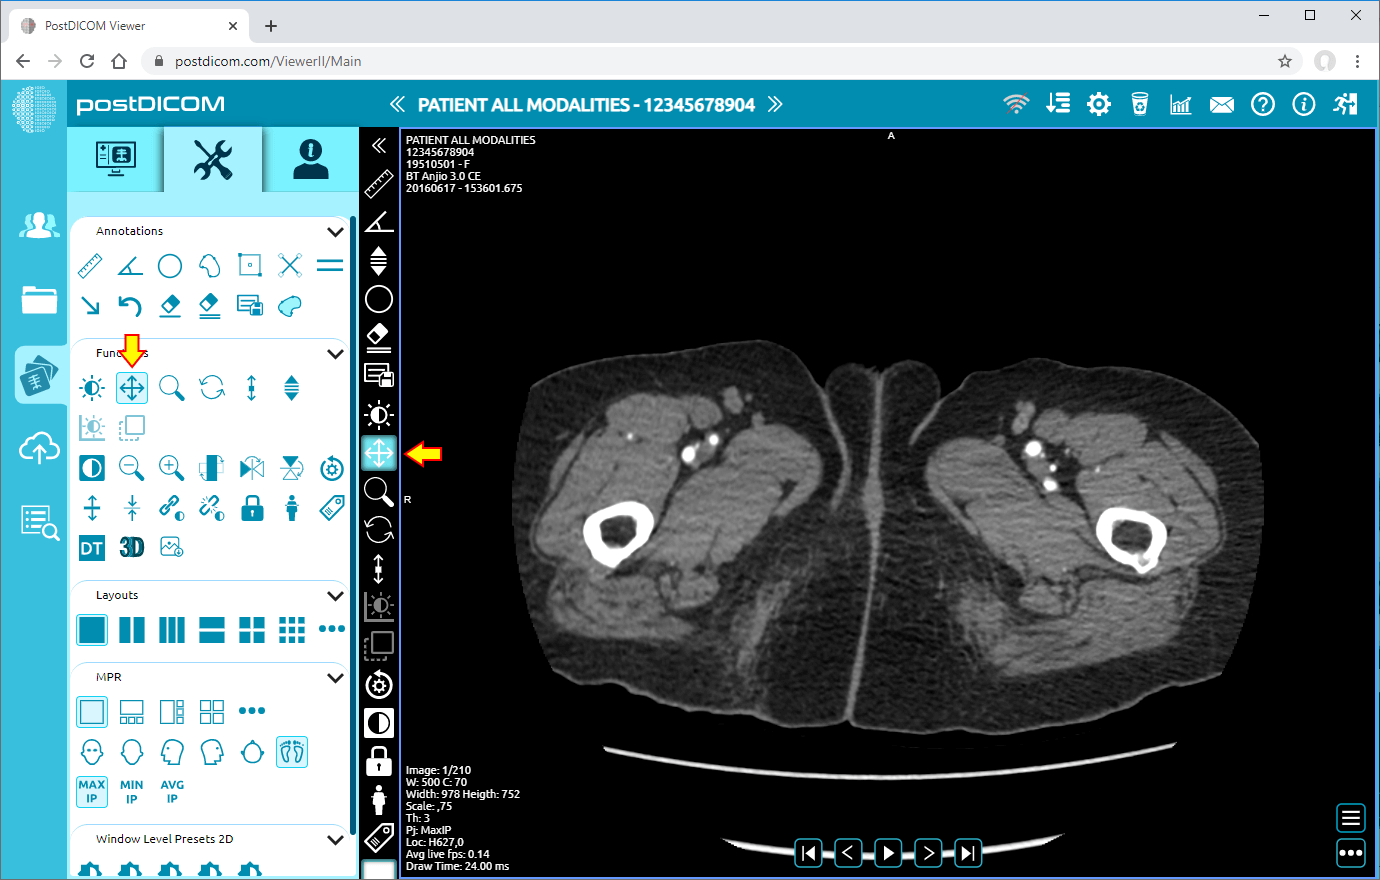
Click on “Pan” icon on the left side of the page. After clicking, the icon will turn into blue color.
While “Pan” is selected, click and hold on image. Move your cursor to any direction to pan the image. When you move your cursor to the right, you will move the image to the right as can be seen in the image below.
Zoom
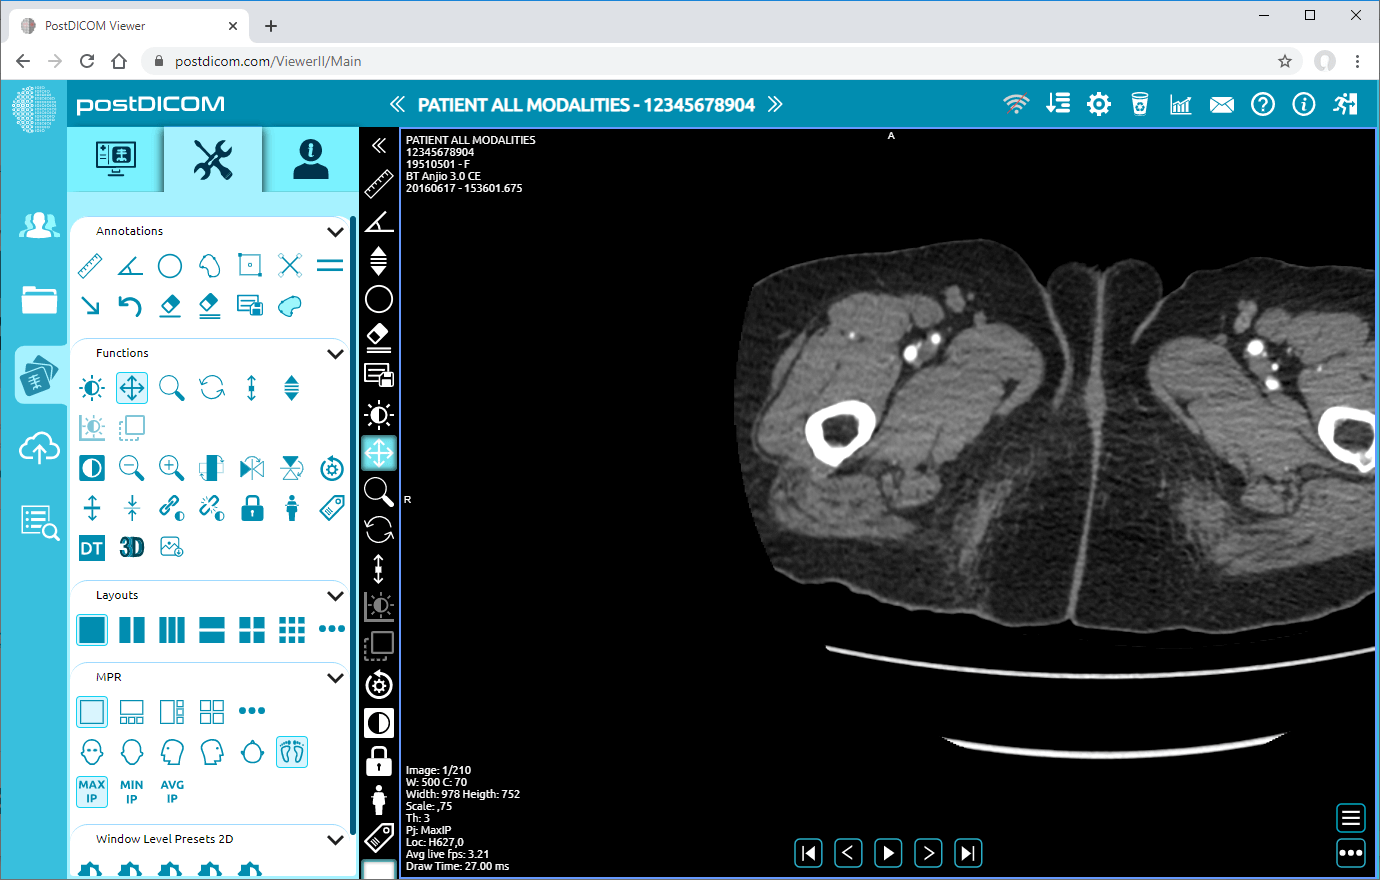
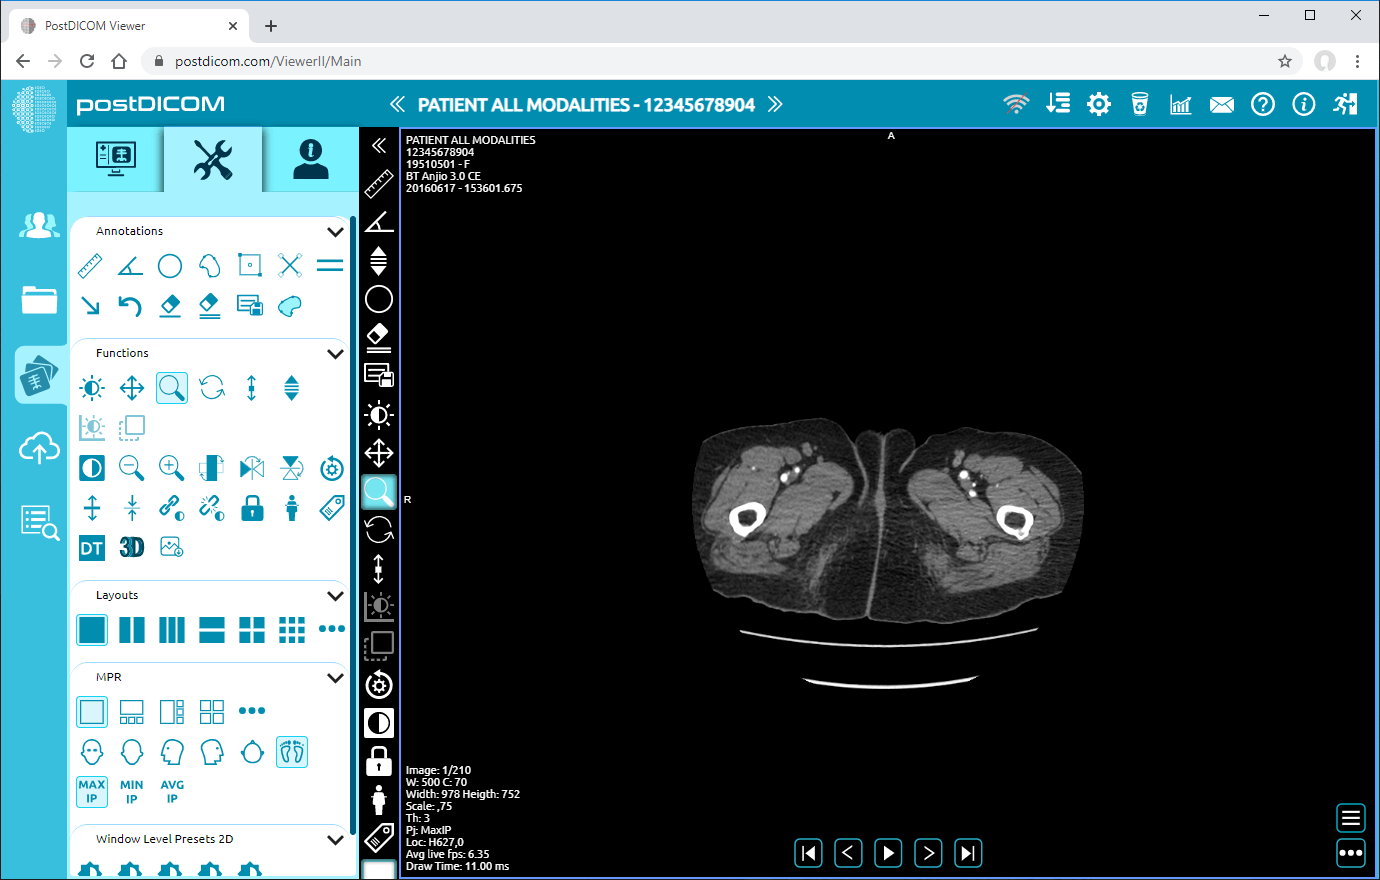
Click on “Zoom” icon on the left side of the page. After clicking, the icon will turn into blue color.
While “Zoom” is selected, click and hold on image. When you move your cursor downwards, image will be zoomed in (image will be bigger). Likewise, when you move your cursor upwards, image will be zoomed out (image will be smaller). Following image shows zoomed in image.
Rotation
Click on “Rotation” icon on the left side of the page. After clicking, the icon will turn into blue color.
While “Rotation” is selected, click and hold on image. Move your cursor to rotate the view up to 360 degrees. Following image shows rotated image.
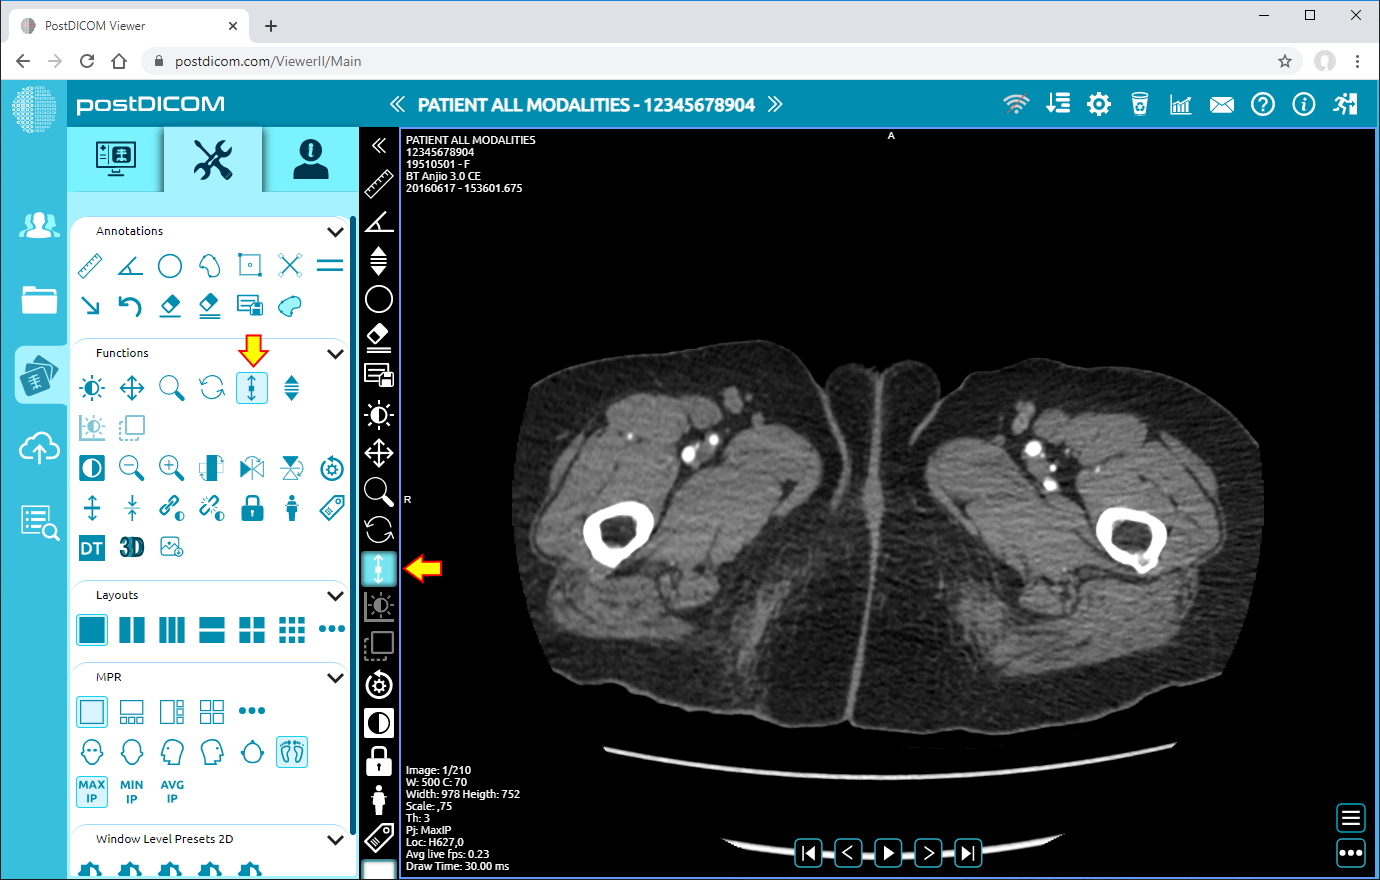
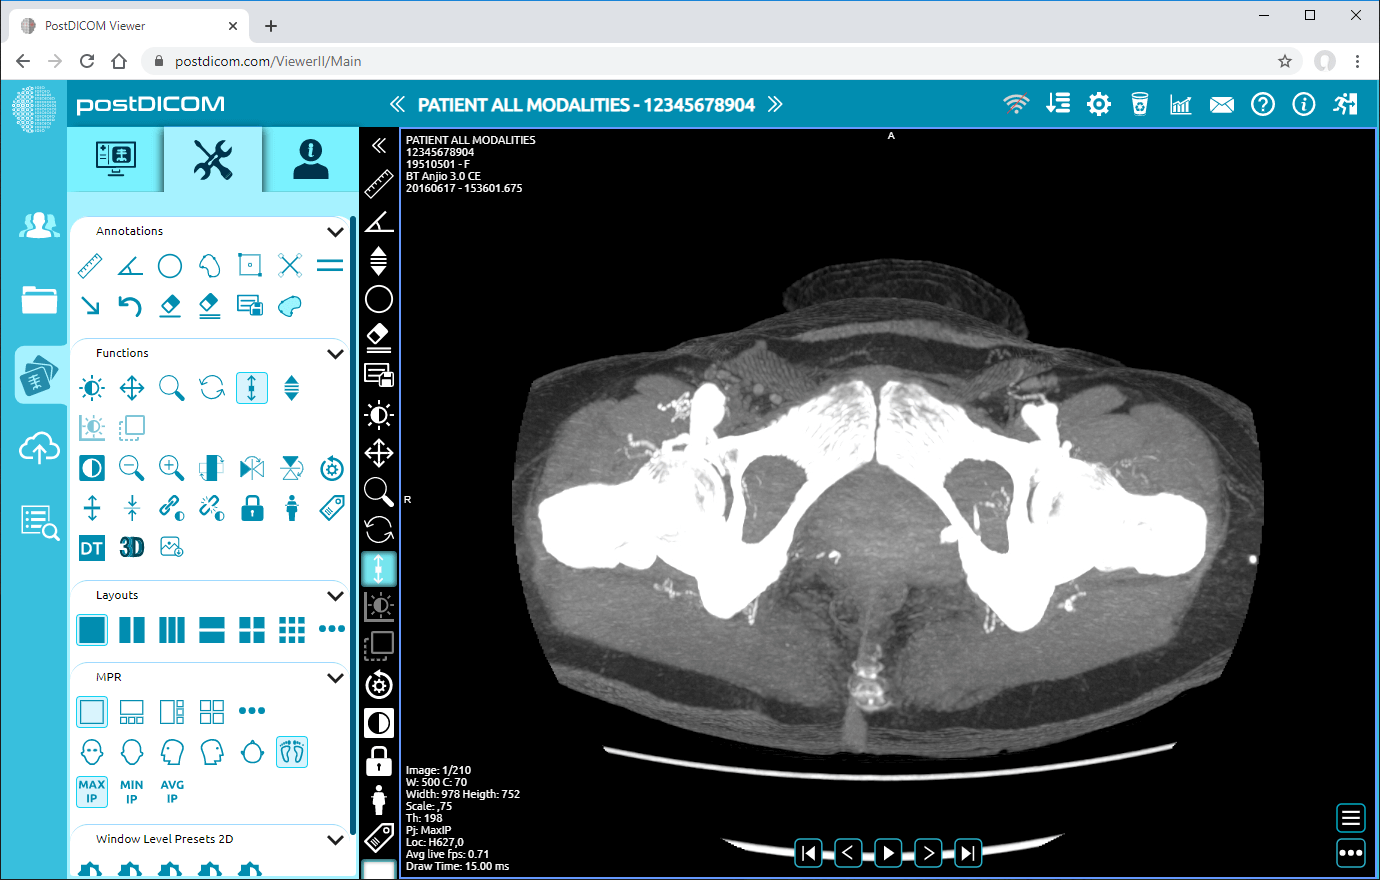
Thickness
Click on “Thickness” icon on the left side of the page. After clicking, the icon will turn into blue color.
While “Thickness” is selected, click and hold on image. When you move your cursor downwards, thickness will be increased. Likewise, when you move your cursor upwards, thickness will be decreased. Following image shows thick image.
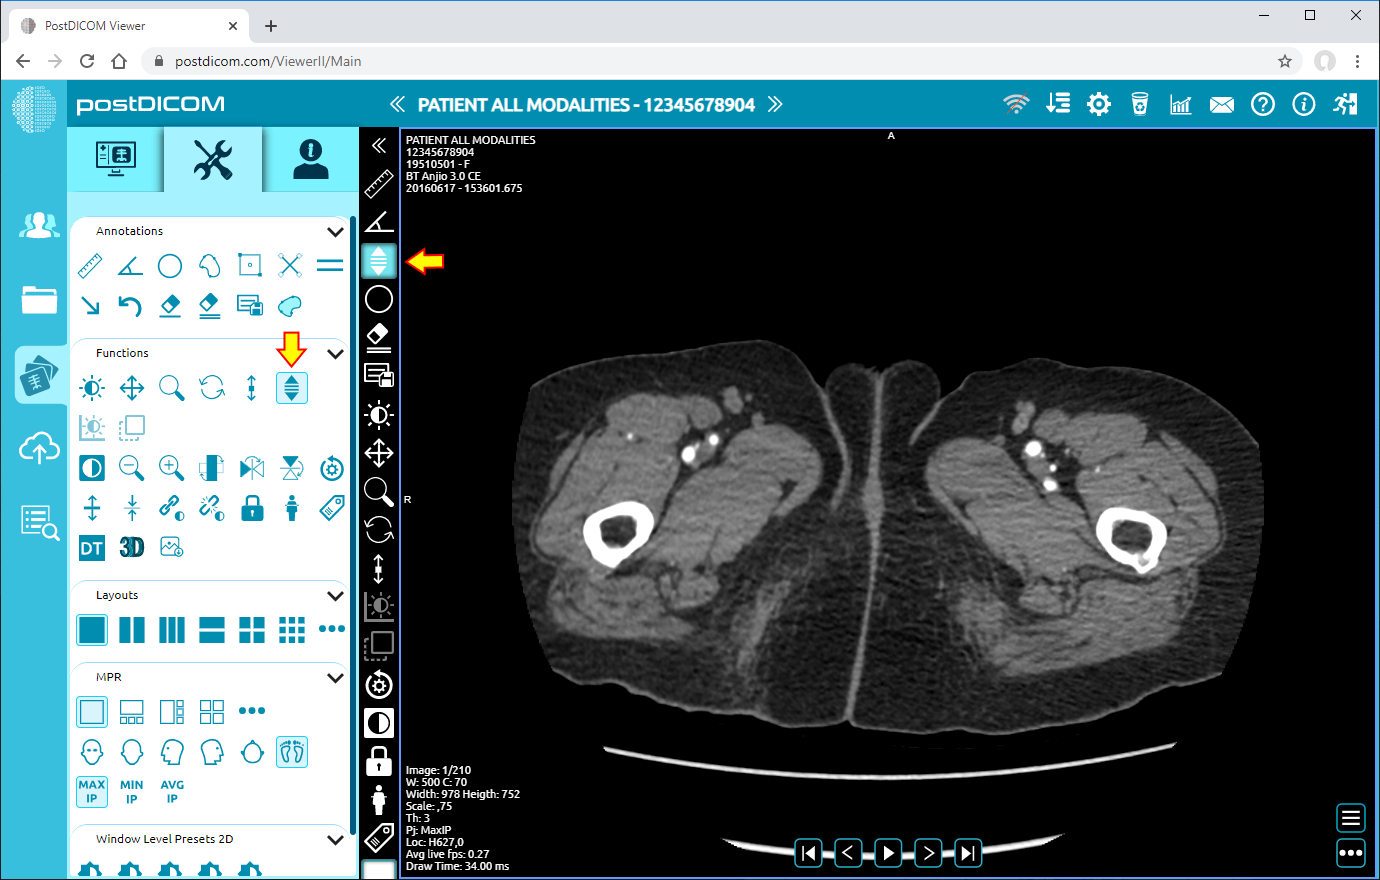
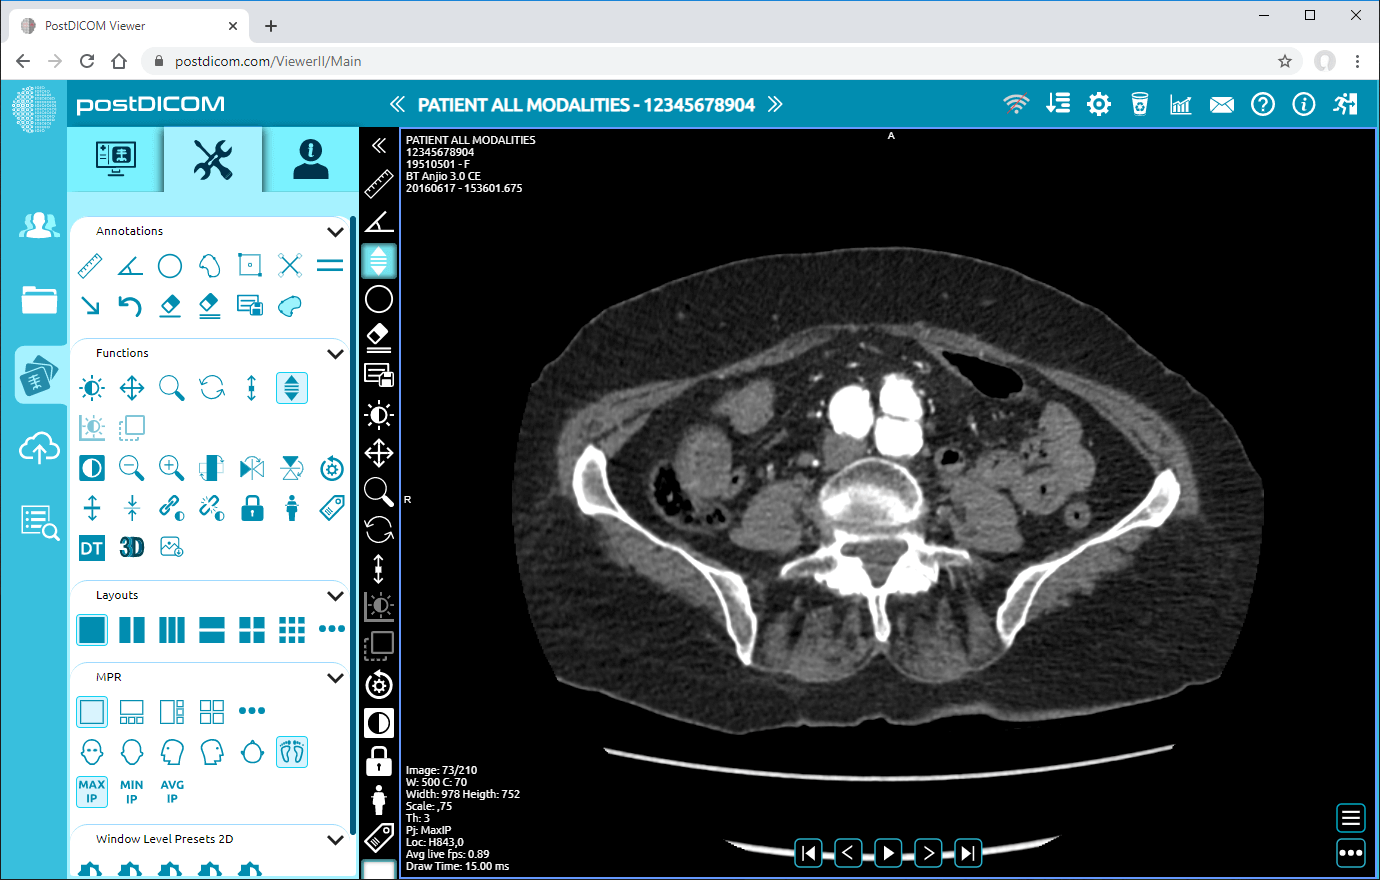
Scroll
Click on “Scroll” icon on the left side of the page. After clicking, the icon will turn into blue color.
While “Scroll” is selected, click and hold on image. When you move your cursor downwards, image index will be increased. Likewise, when you move your cursor upwards, image index will be decreased. Following image shows scrolled image.