Folders and their content can be seen from three different locations. First one is from "Folders" section in the main screen. The second one is "Select Folder" form shown during upload when medical images and clinical documents are added to folders. The third one is "Select Folder" form shown at "Search" results page when Patient Studies are added to folders. At these three locations visual appearance of the folders, toolbars and functions are identical. Therefore, in this article screen shots which are taken from "Folders" section are used.
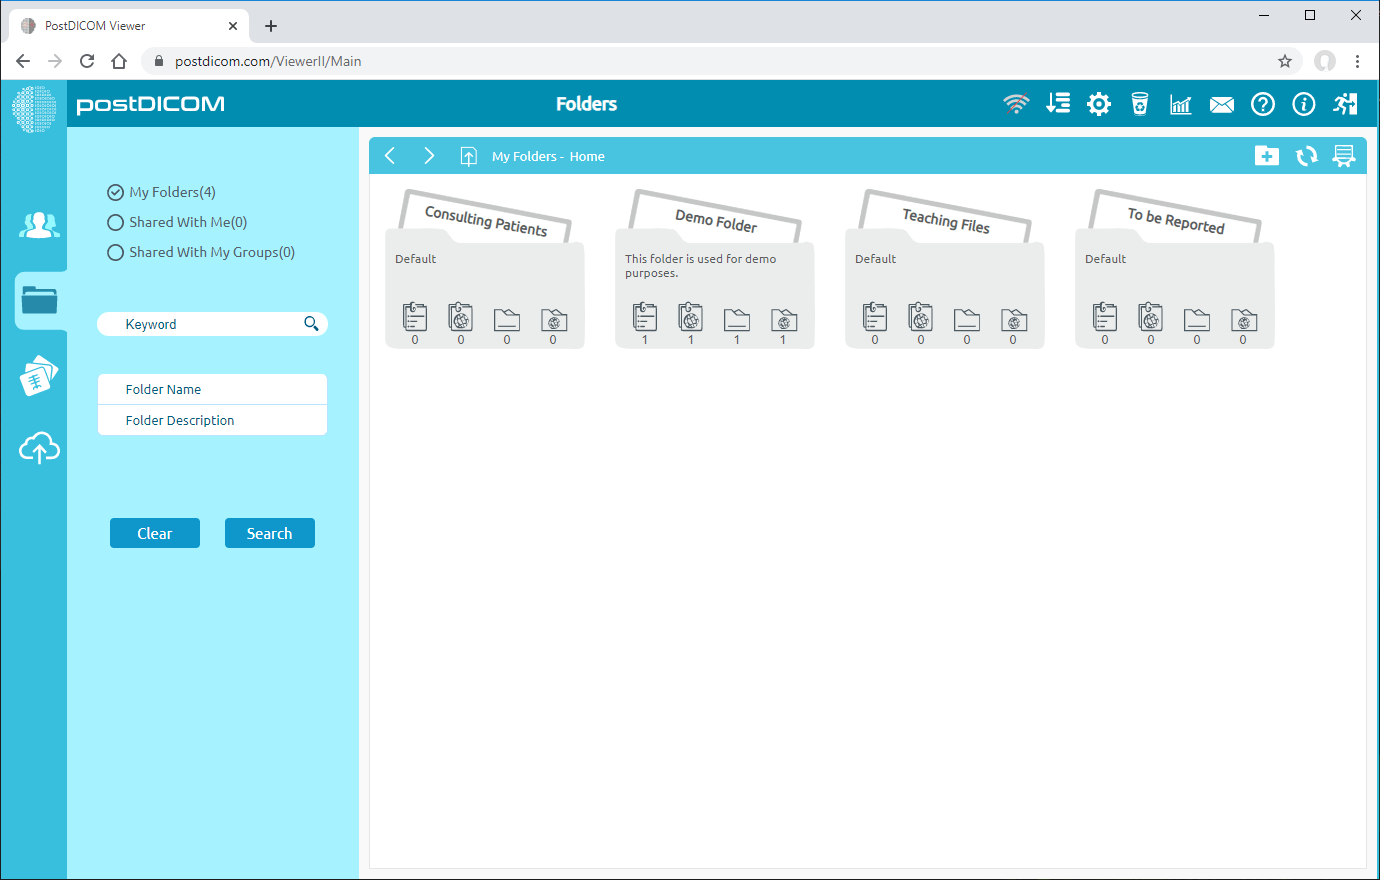
On "Folders" page, all folders and their content are shown.
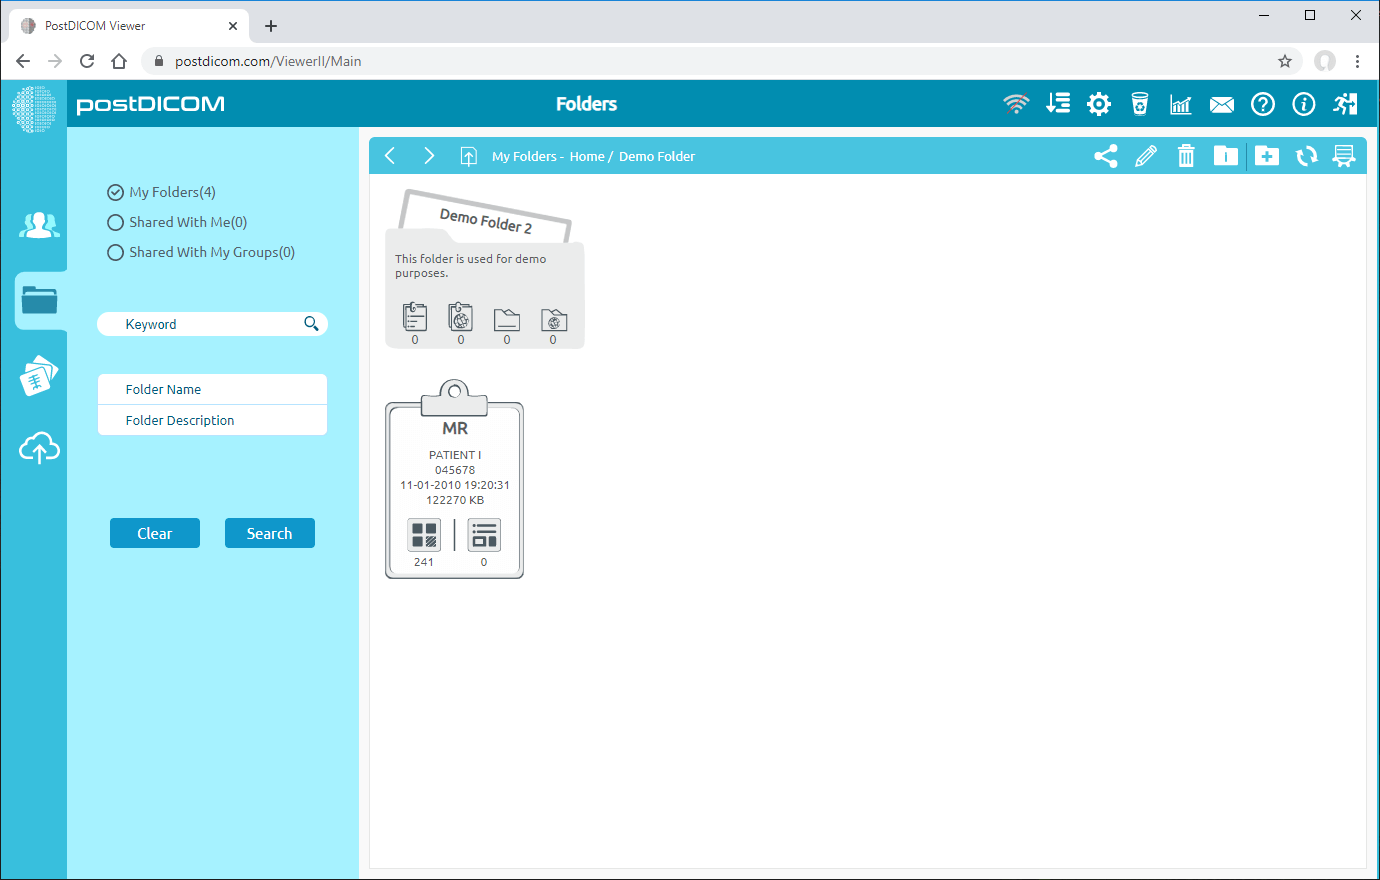
In order to open a folder, double-click on it. When the folder is opened, sub folders and patient studies will be displayed. Next screenshot is taken when "Demo Folder" is opened.
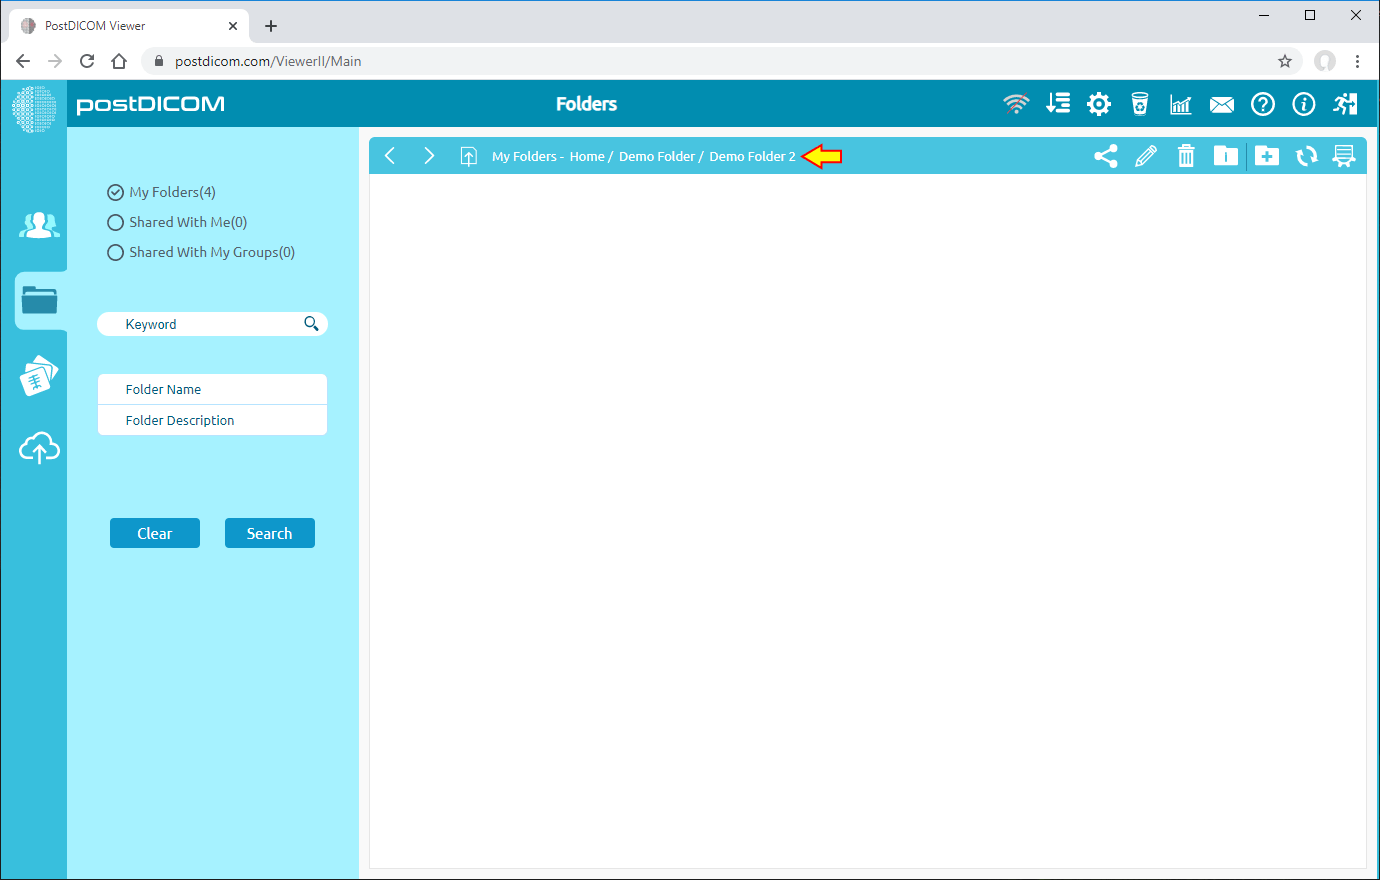
The header of the page allows you to navigate from the parent folder to the sub-folders. You will see the name of currently opened folder and its parent folders at the top.
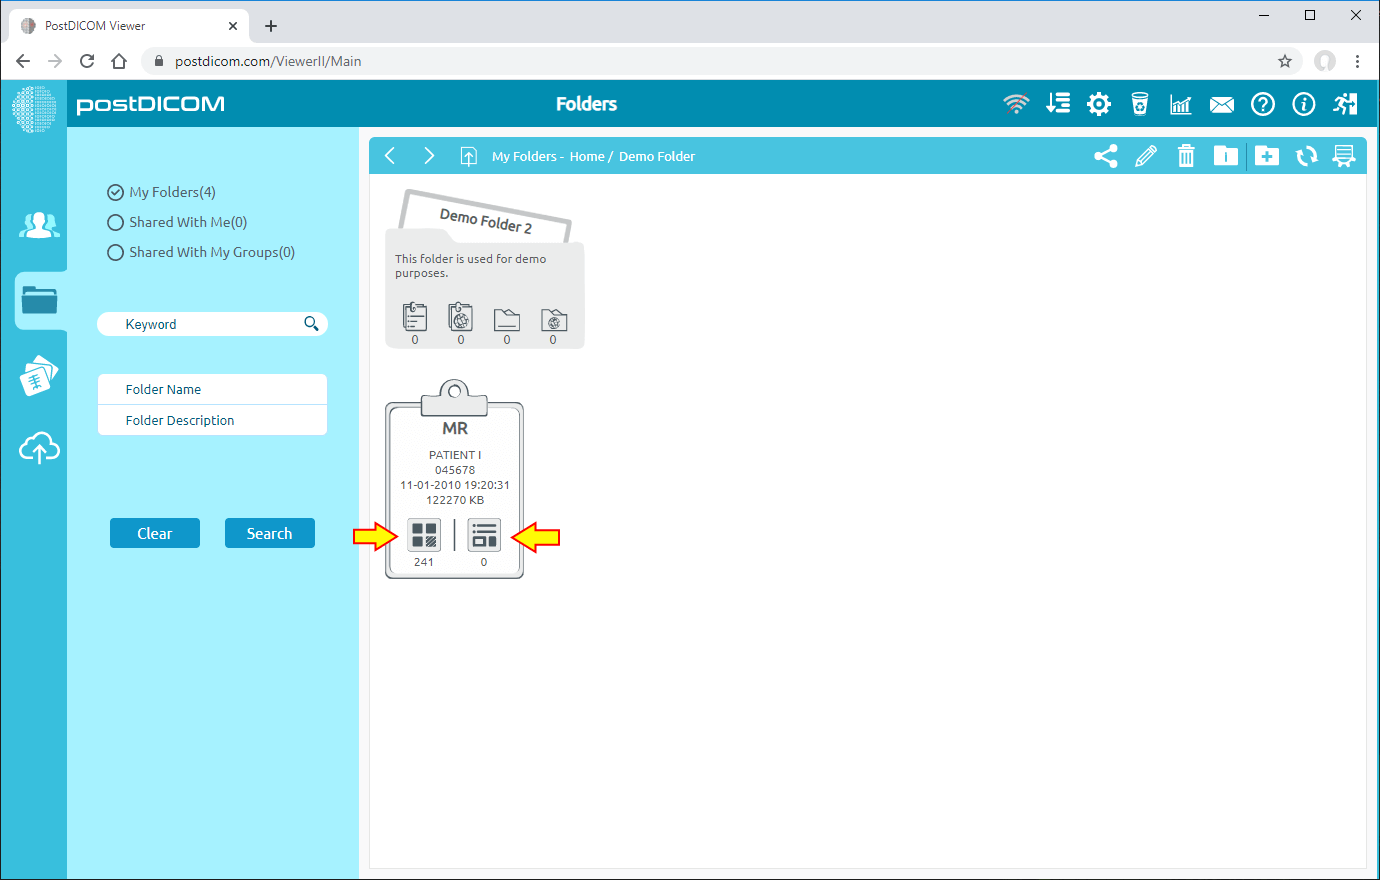
For viewing images and documents in a folder, open the folder by double-clicking on it. You will see all patient studies and sub-folders in the folder. At the bottom of each patient study, there are two window shaped icons. The icon on the left shows how many images are in the study and the one on the right shows how many documents are in it.
If you double-click on a patient study, all images and documents in it will be displayed. For more information and usage of View section read Viewing Medial Images and Documents articles.