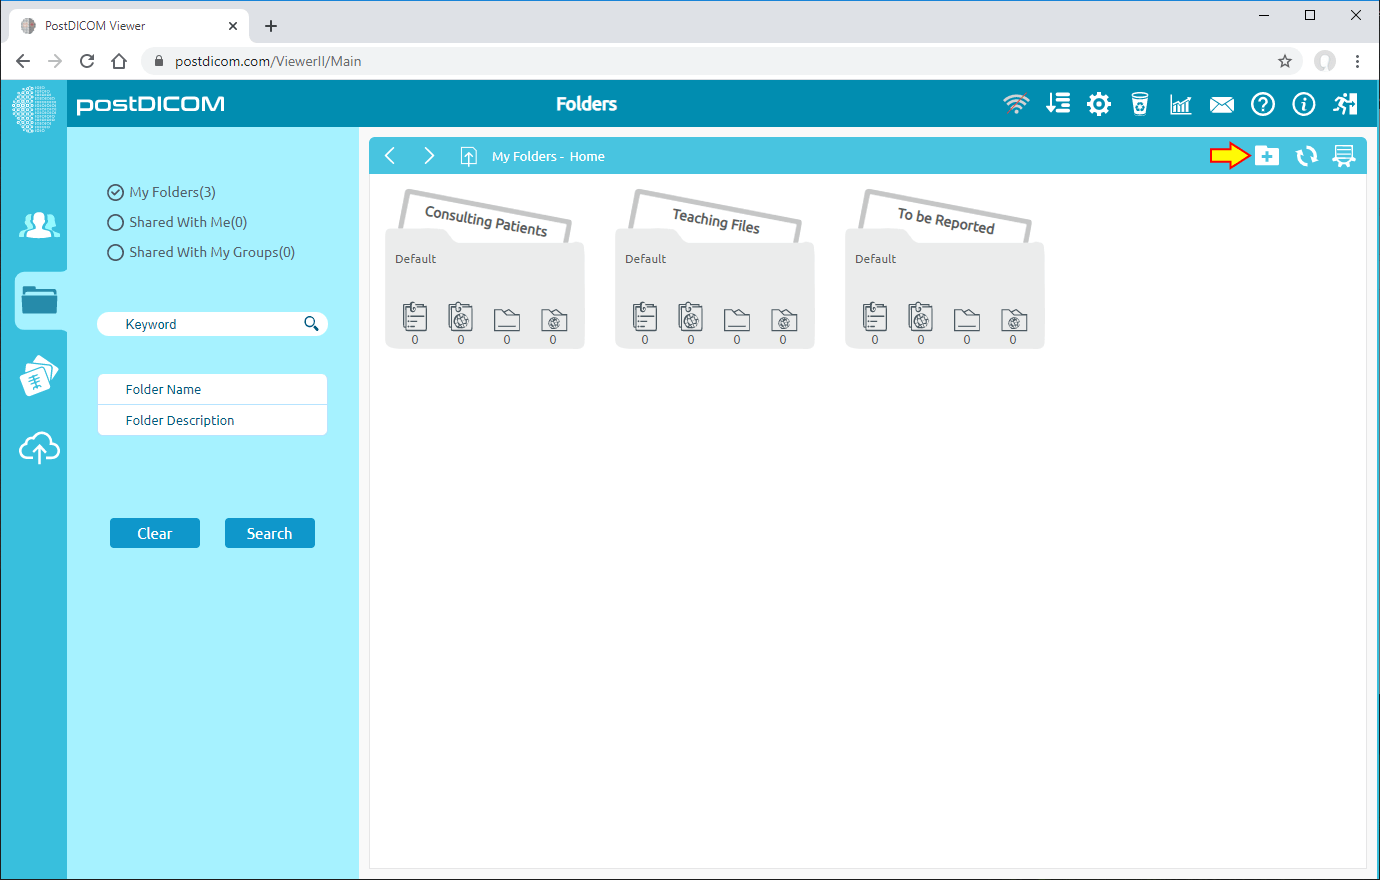
Folders can be added from three different locations. First one is from "Folders" section in the main screen. The other one is using "Select Folder" form shown during upload when medical images and clinical documents are added to folders. The third one is using "Select Folder" form shown at "Search" results page when Patient Studies are added to folders. At these three locations visual appearance of the folders, toolbars and functions are identical, therefore, in this article screen shots taken from "Folders" section are used.
On "Folders" section, you will see three sample folders which are Consulting Patients, Teaching Files and To Be Reported. In order to add a new folder, click on "Create New Folder" icon at the upper right side of the page.
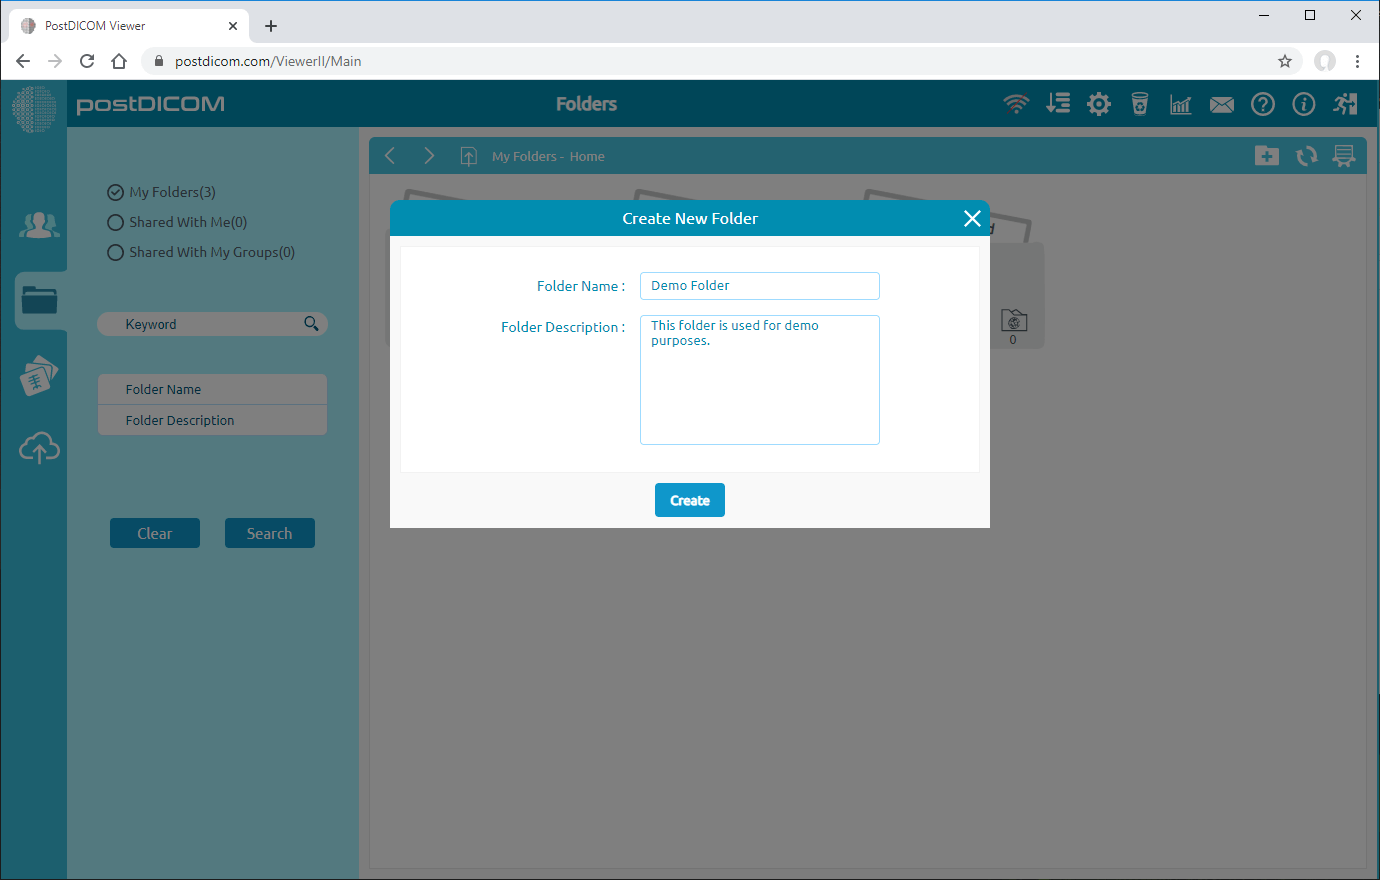
Enter folder name and folder description in “Create New Folder” form then click "Create" button.
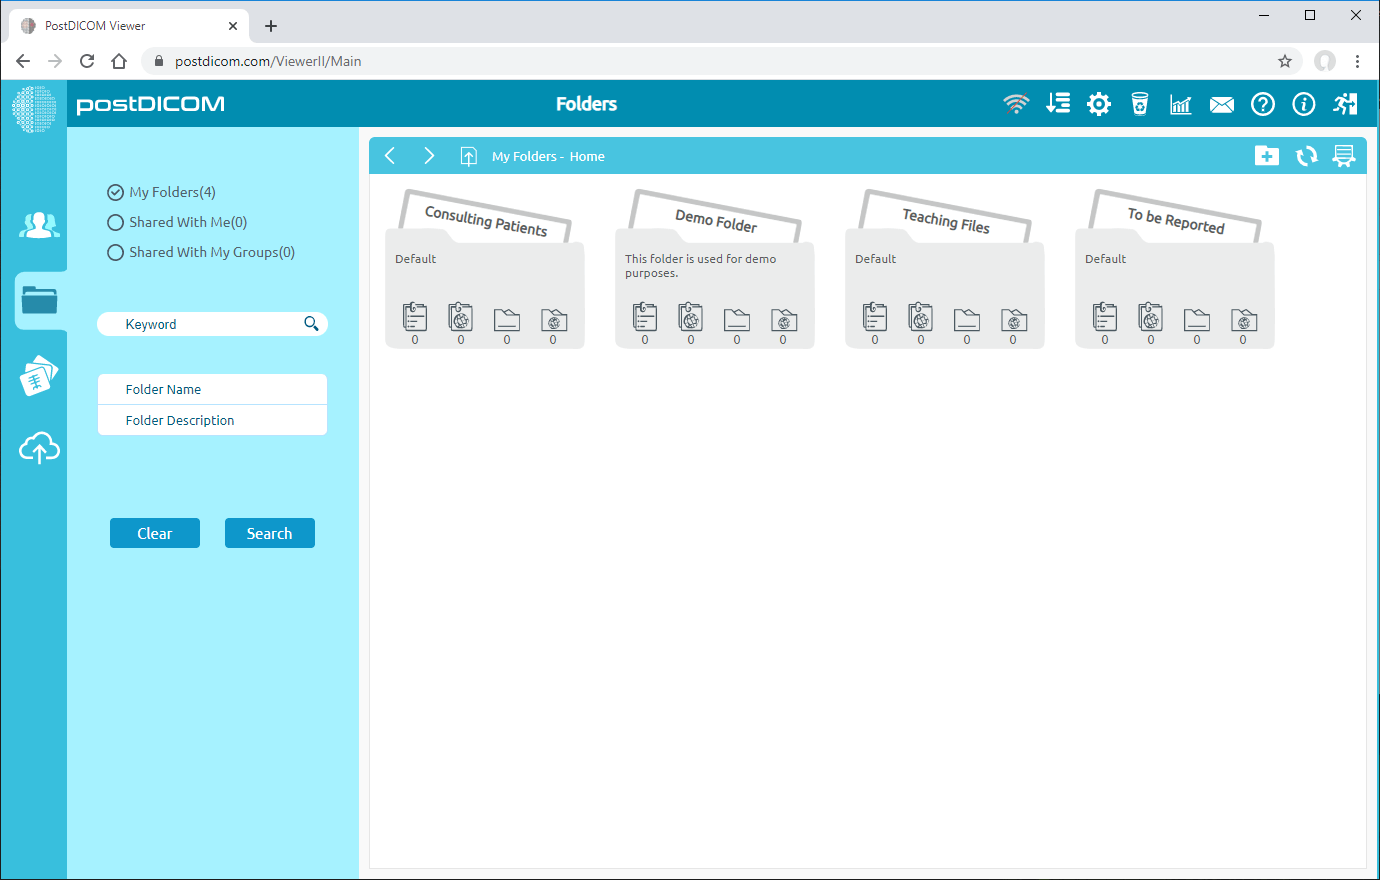
After clicking "Create" button, the folder you created will appear on Folders page.
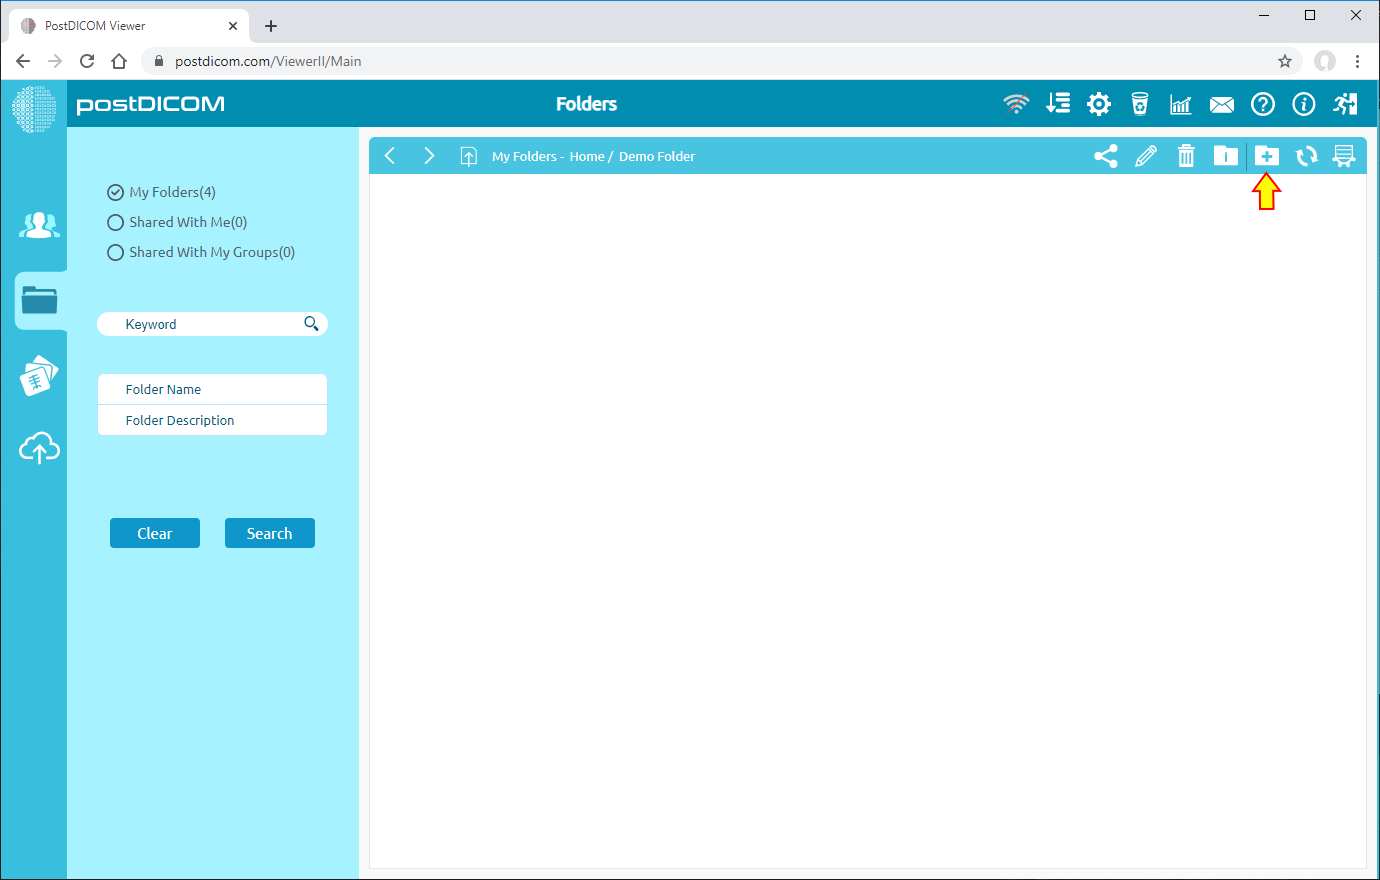
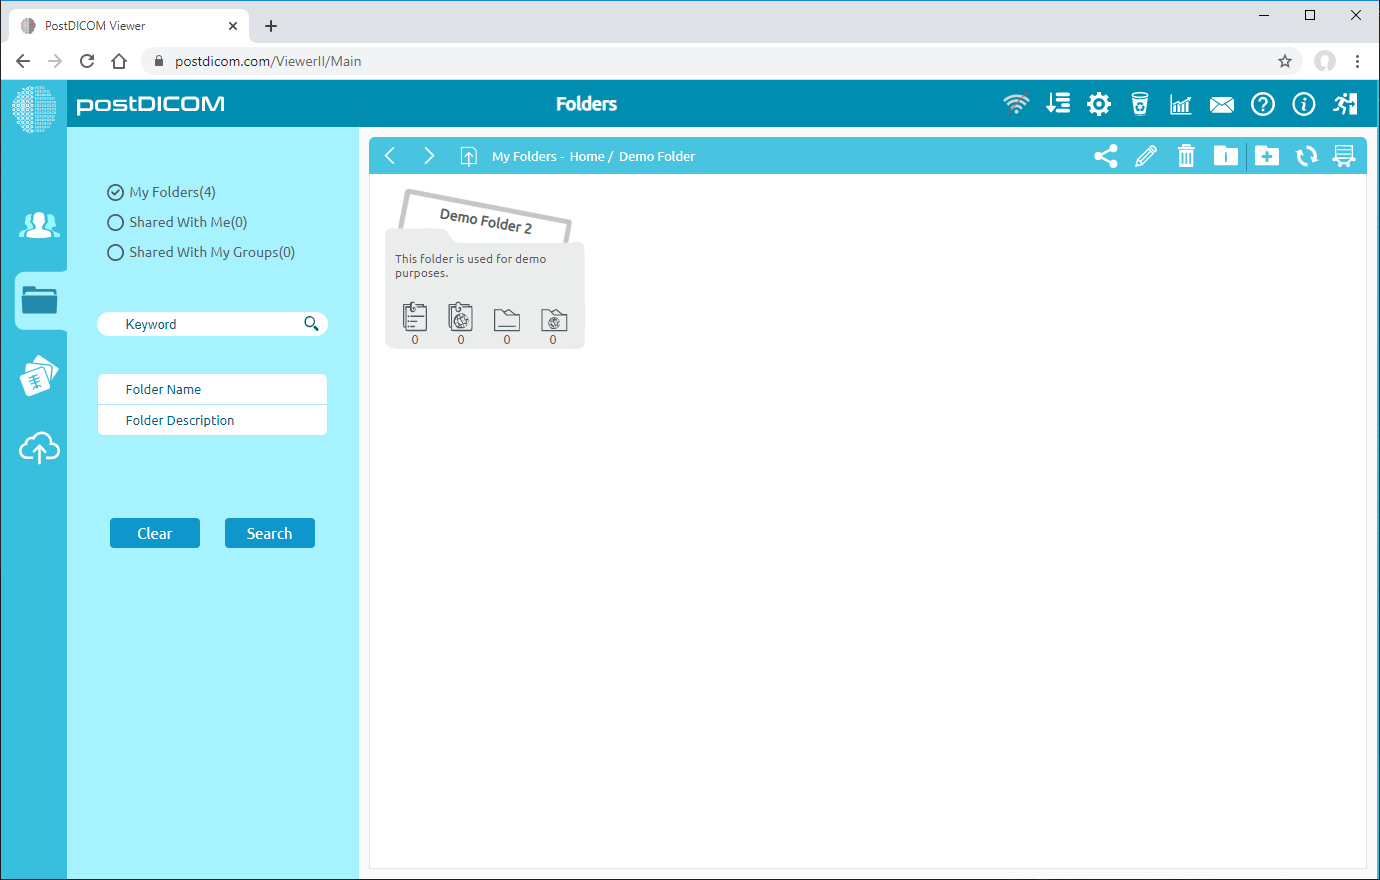
Folders can contain other folders. First, navigate to folder (see Navigating Folders) where sub folder will be created. Sub folders and Patient Studies will be shown if there is any. Then, click "Create New Folder" icon at the upper right side of the page.
"Create New Folder" form will be shown. Enter a folder name and folder description and then click on "Create" button.
Created folder will be displayed in the parent folder.
By using these steps you can add as many folders as you want.