In order to edit Institution settings, click on “Settings” icon on the upper right side of the page.
Then, click on “Account Settings” item on the upper left side of the page.
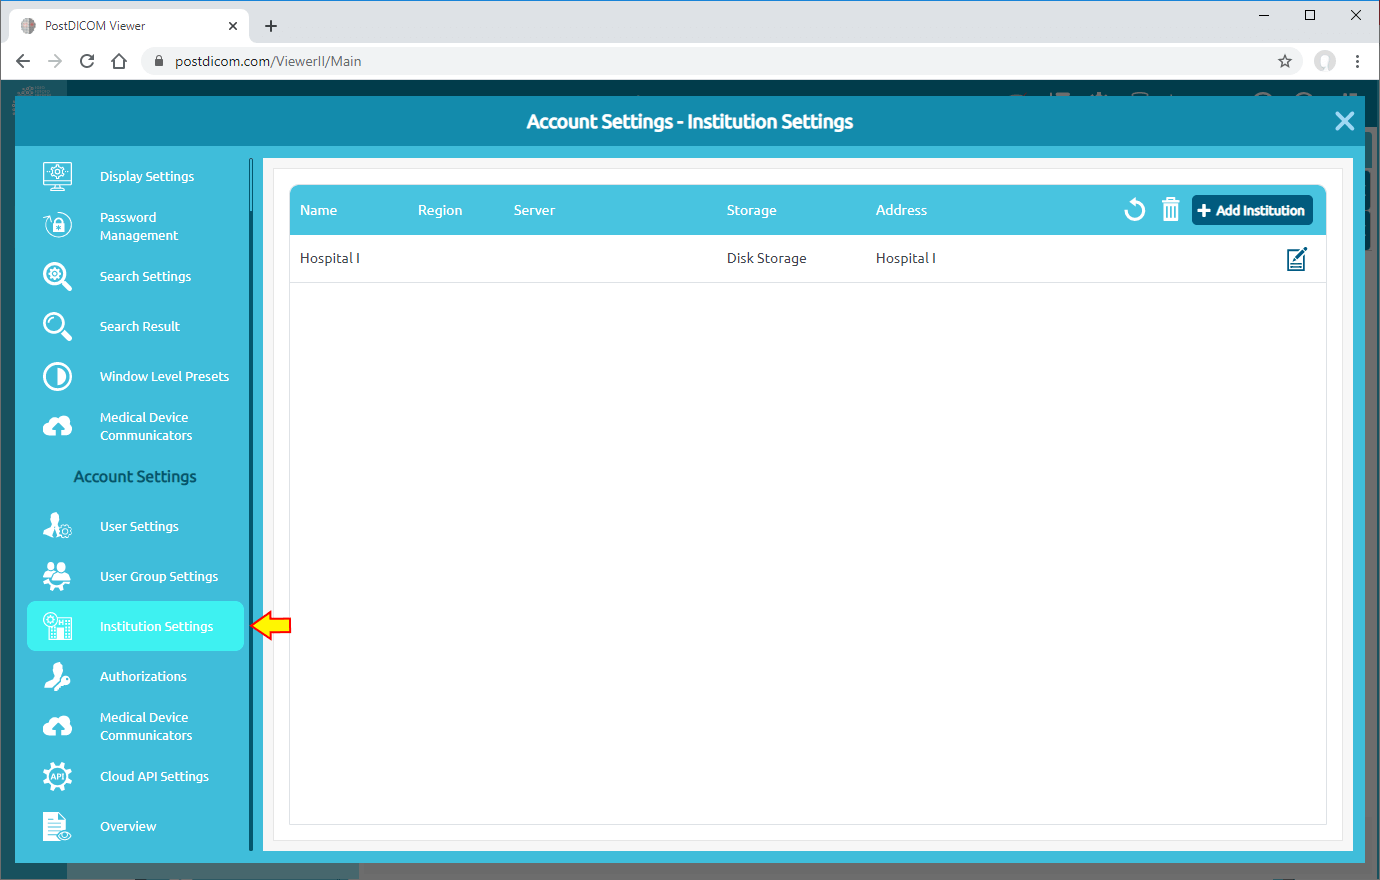
On account settings field, click on “Institution Settings” menu item.
Institution Settings page will be opened and institutions of the account will be shown. Every account has a default institution which is created by using Name and Surname combination. You can change the name of the institution or determine report print options by clicking on the “Edit Institution” icon.
After clicking, “Edit Institution” form will be shown. On that form you can edit name and address of the institution. After editing, click on “Save” button.
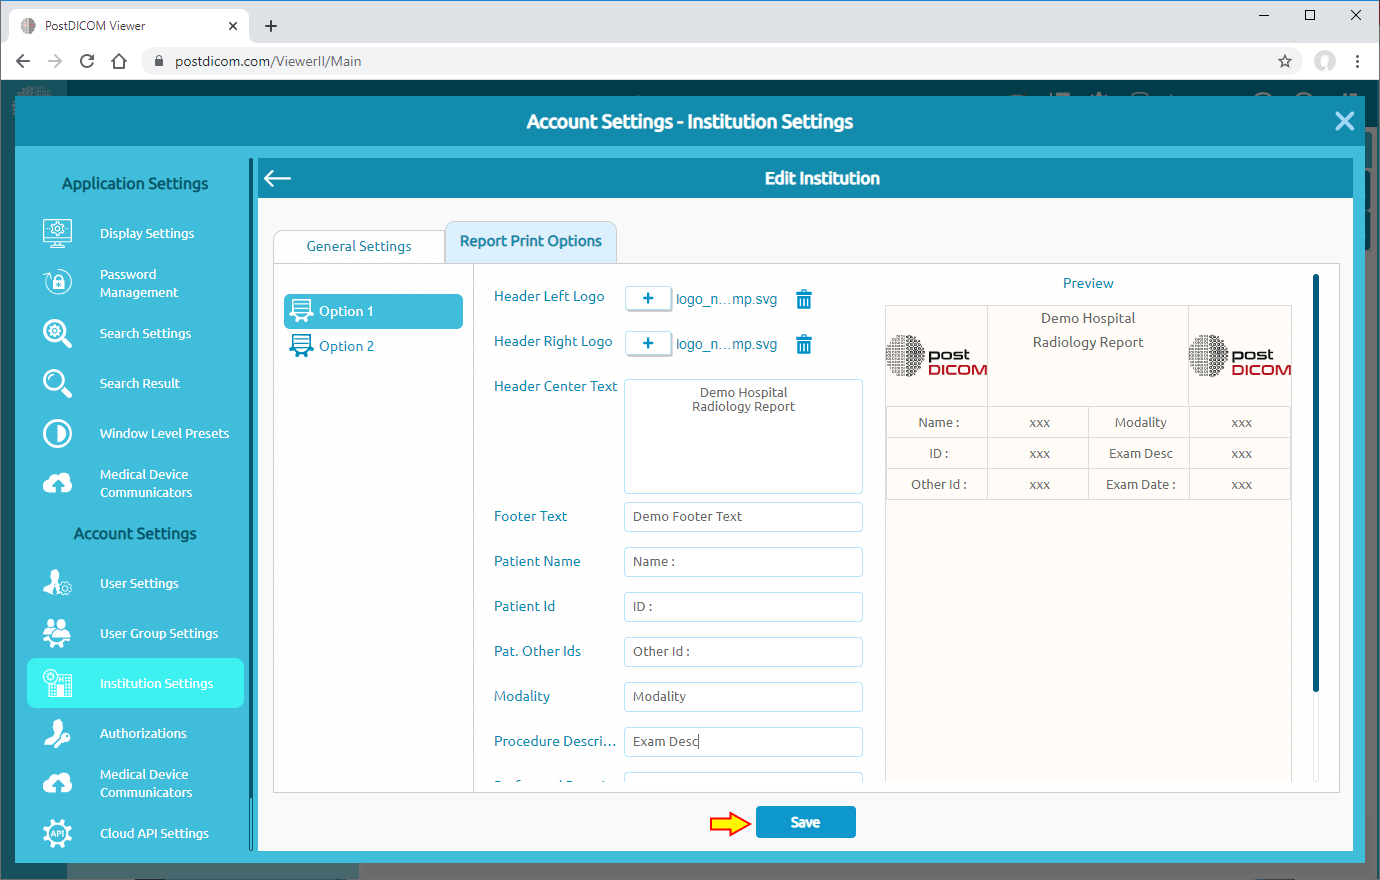
Also, you can determine report print options in this field. Click on “Report Print Options” item on the upper side of the field.
In this form, you can edit the content of your report by uploading a logo and entering a text or patient information. You can see the preview of the report on the right side of the form. Fill the related blanks and click on “Save” button.
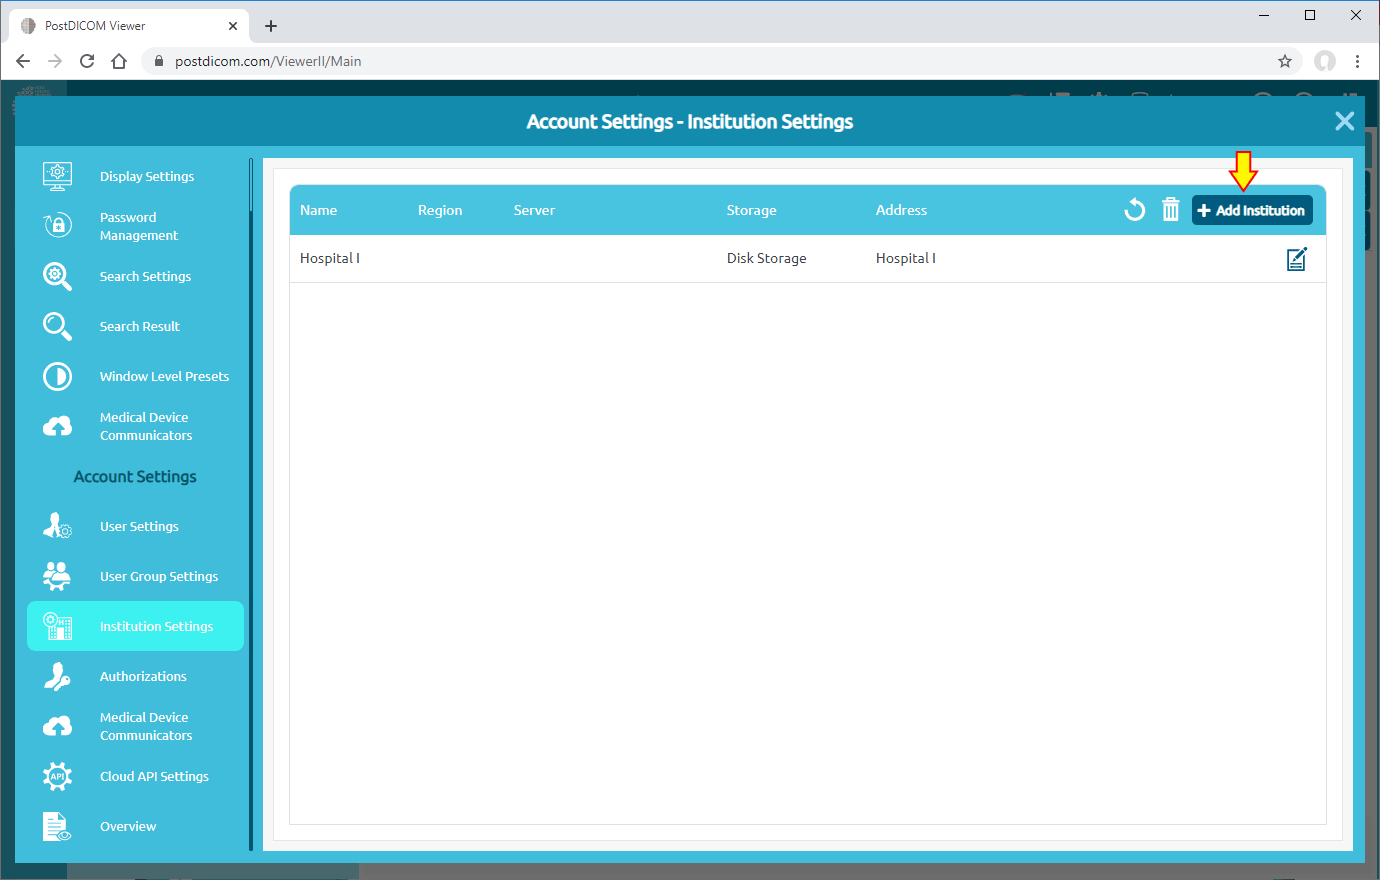
If you have more than one institution, you can create new institutions. In order to add institution, click on “Add Institution” button on the upper right side of the page.
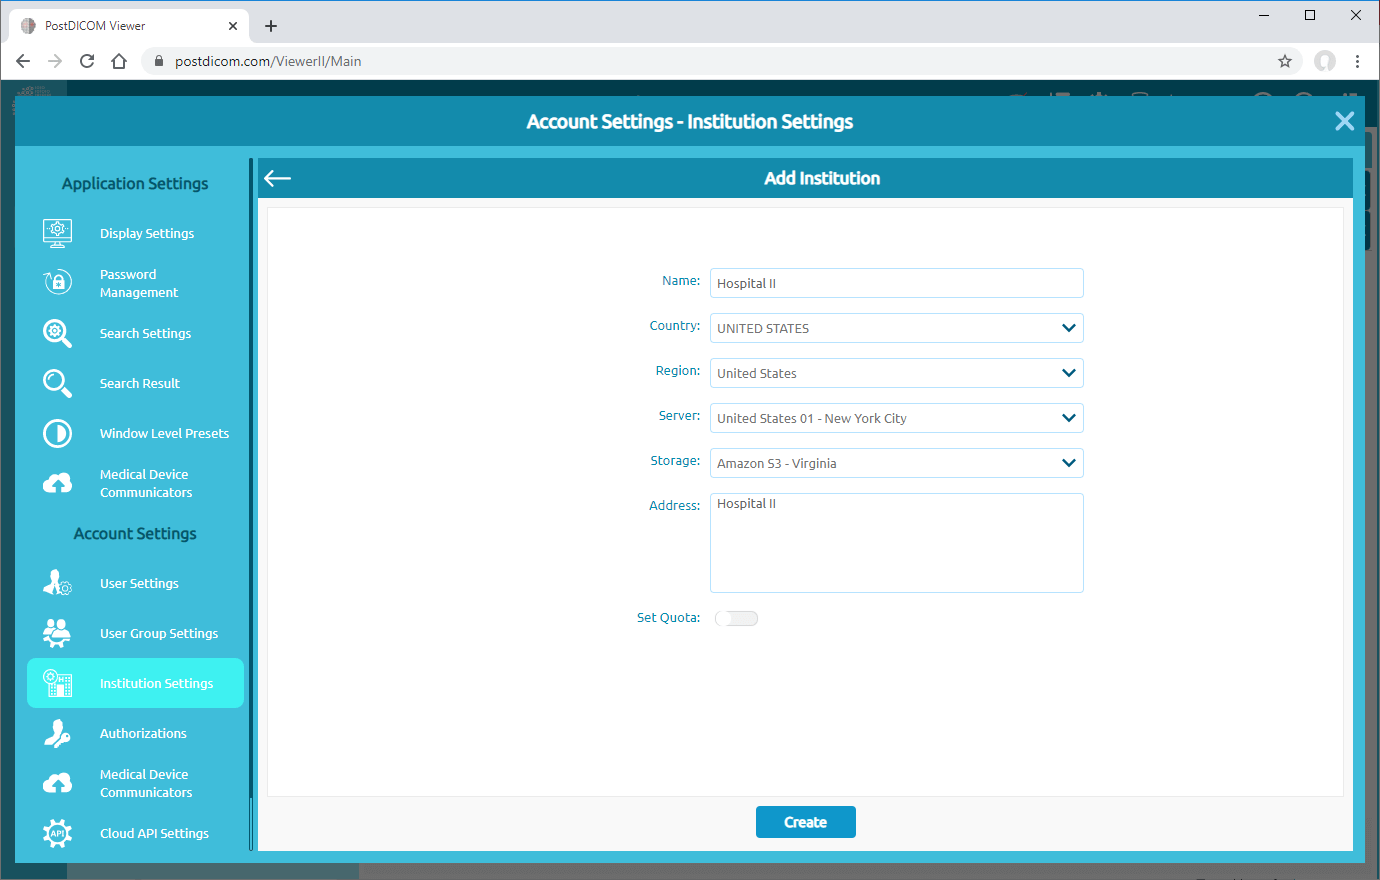
When you click on the button, add institution form will be opened. Fill the form with name and address and then click on “Create” button.
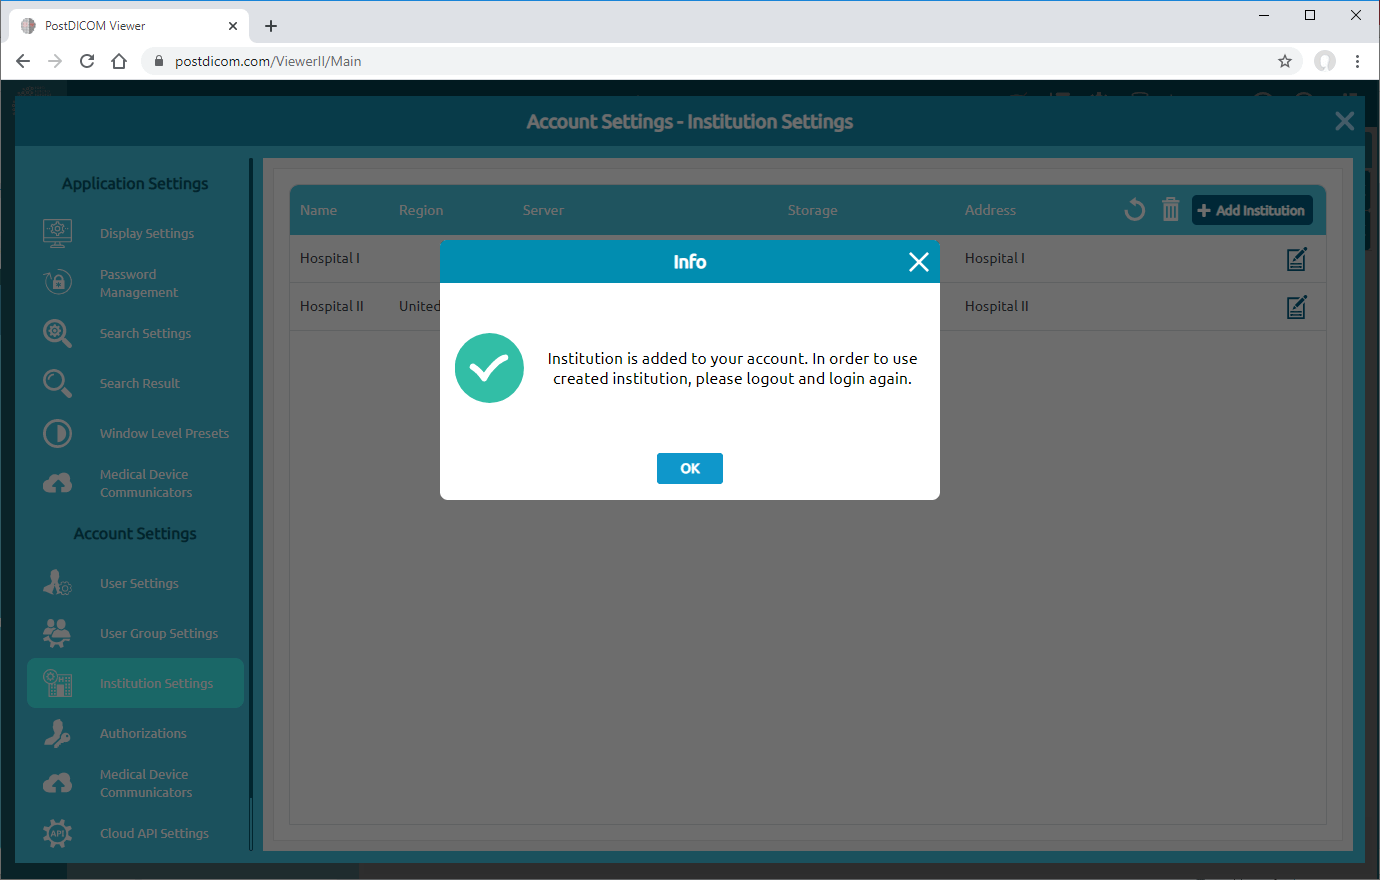
Institution will be added to your account and the following massage box will be shown. Click on “OK” button to close the message box.
The institution you have added will be displayed in the institution list.
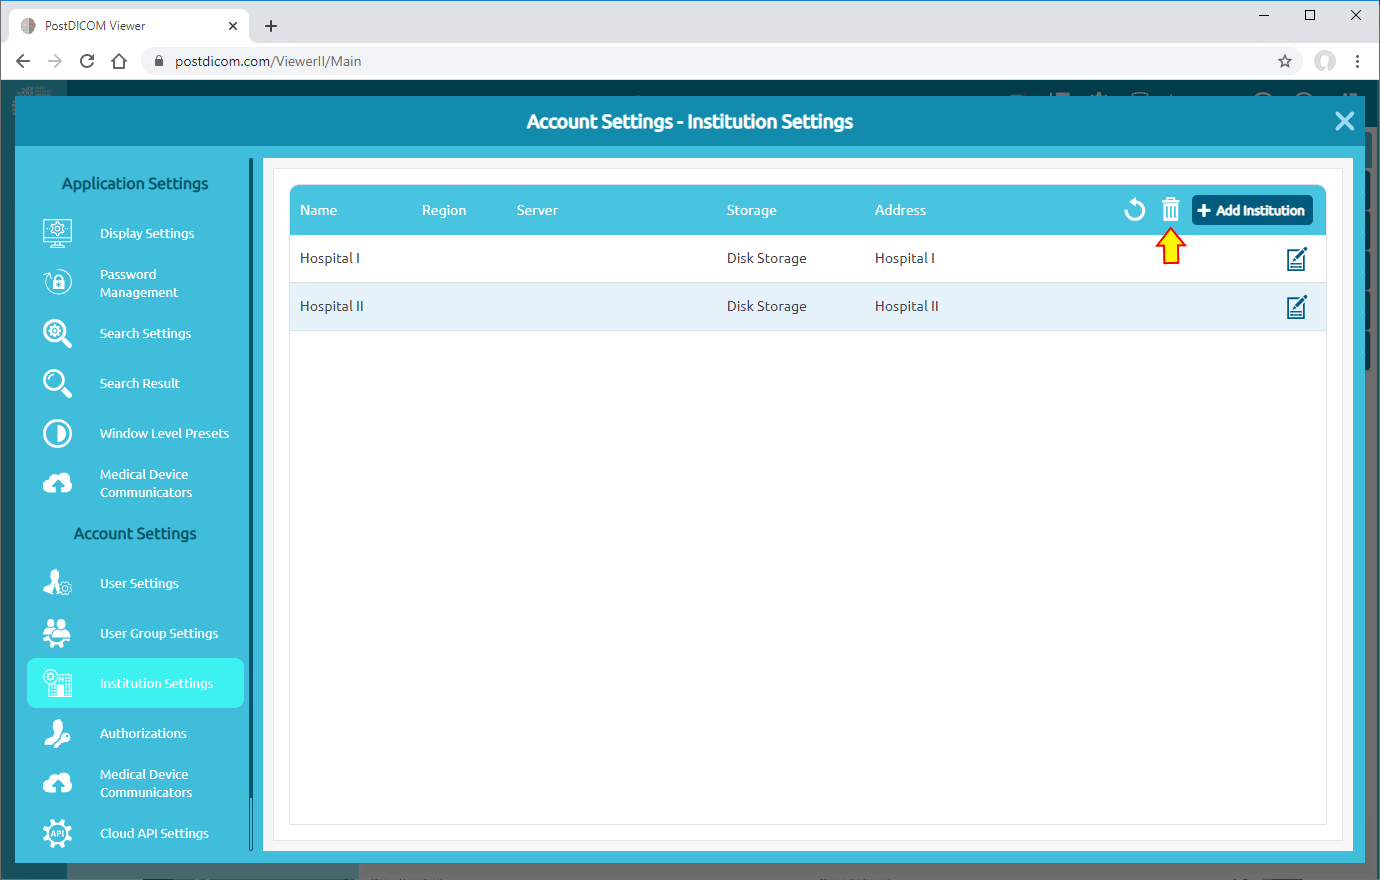
If you want to delete an institution, click on the institution then it will turn into yellow color. After selecting, click on “Delete” icon on the upper ride side of the field.
Once you have clicked on the icon, a message box will be shown. Click on “Yes” to confirm that you want to delete the institution. If you don’t want to delete it, click on “No”.
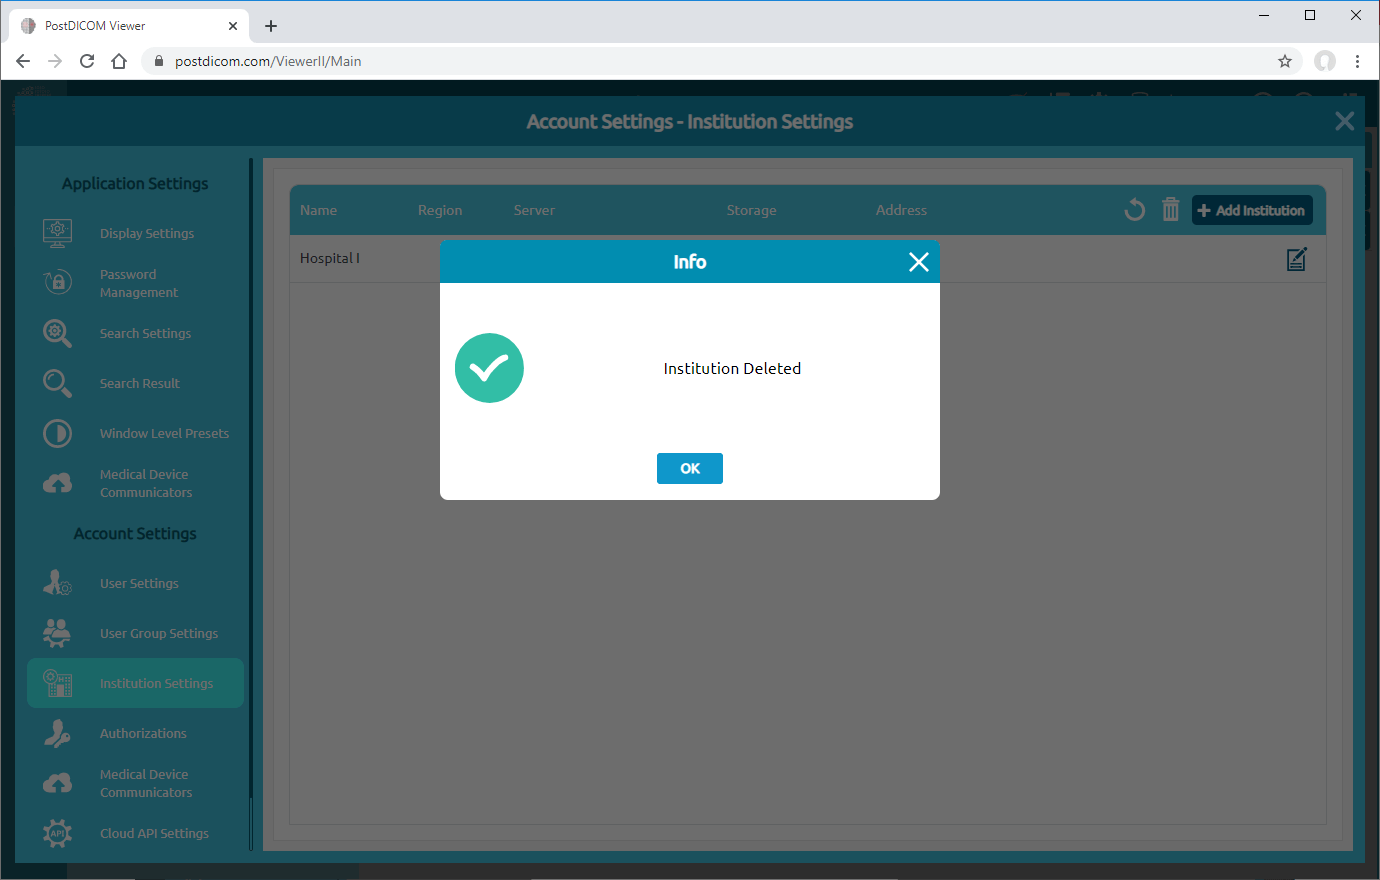
After clicking on “Yes”, selected institution will be deleted and the following massage box will be shown. Click on “OK” button to close the box.