Click on “Settings” icon on the upper right side of the page.
Then, click on “Account Settings” item on the upper left side of the page.
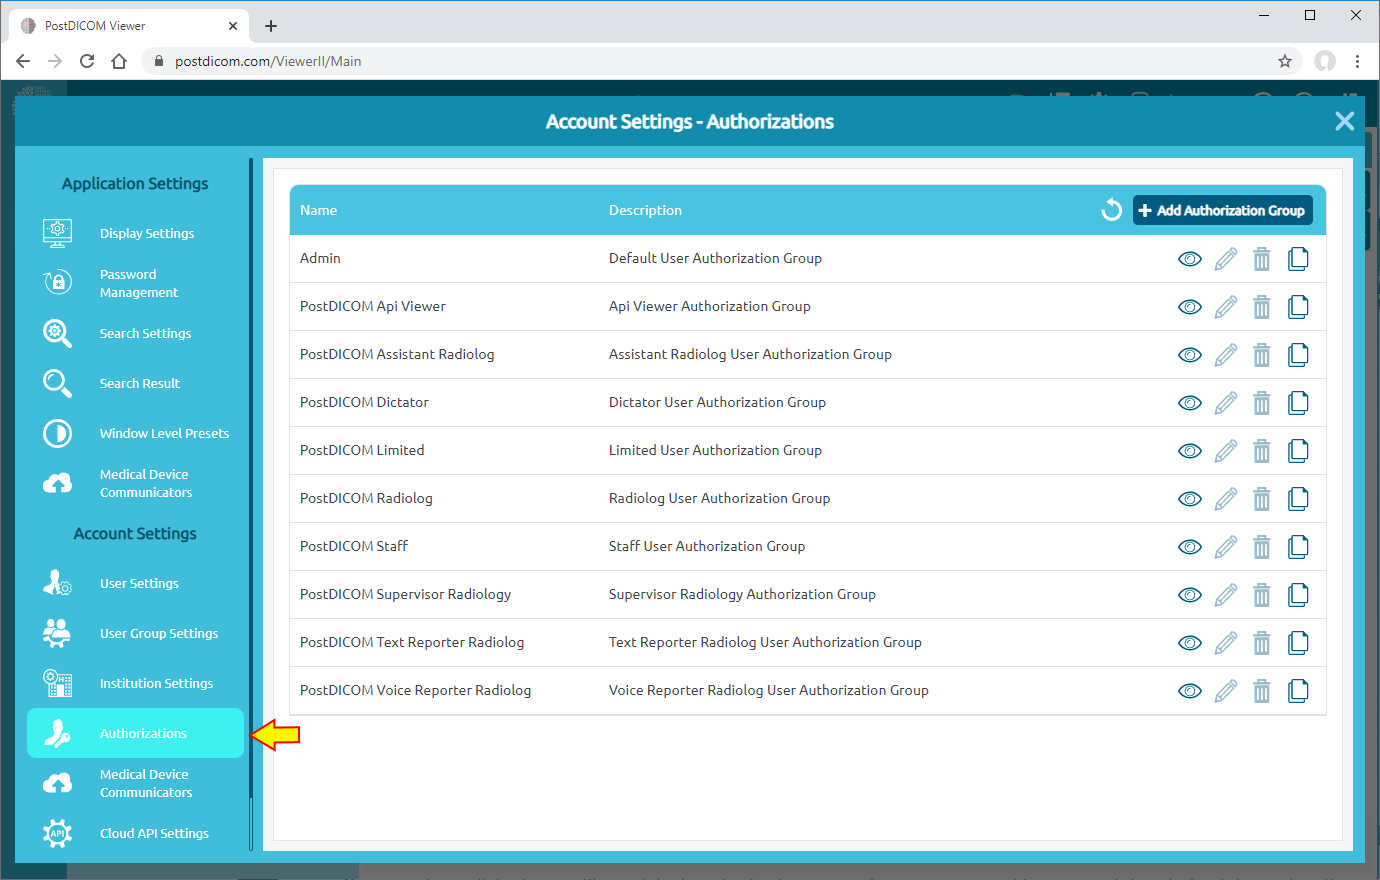
On account settings field, click on “Authorizations” menu item.
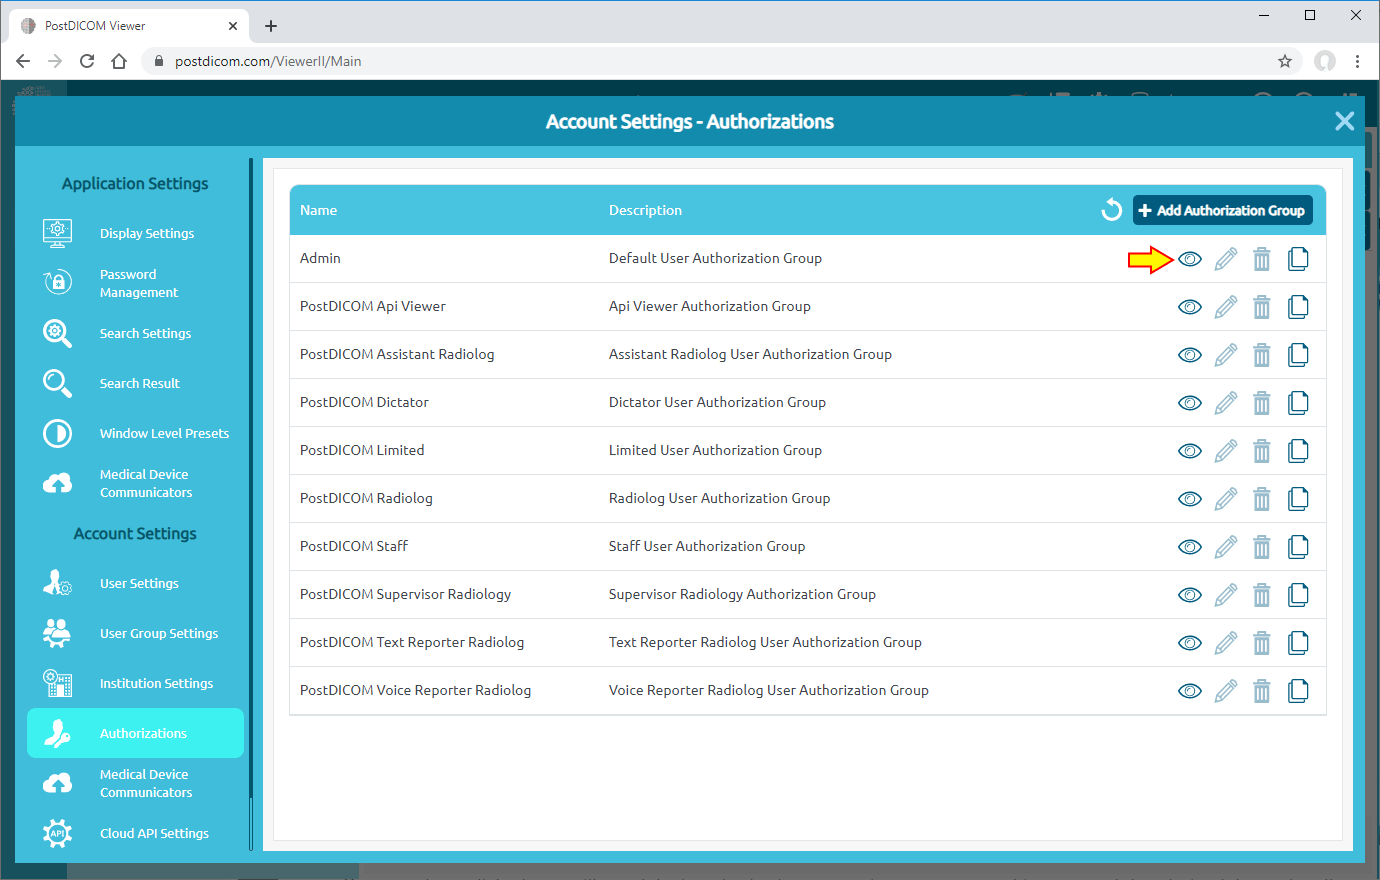
Once you have clicked, you will see default authorization groups in your account with name and description information. If you want to view group details of an authorization group, click on “View” icon on the right side of it.
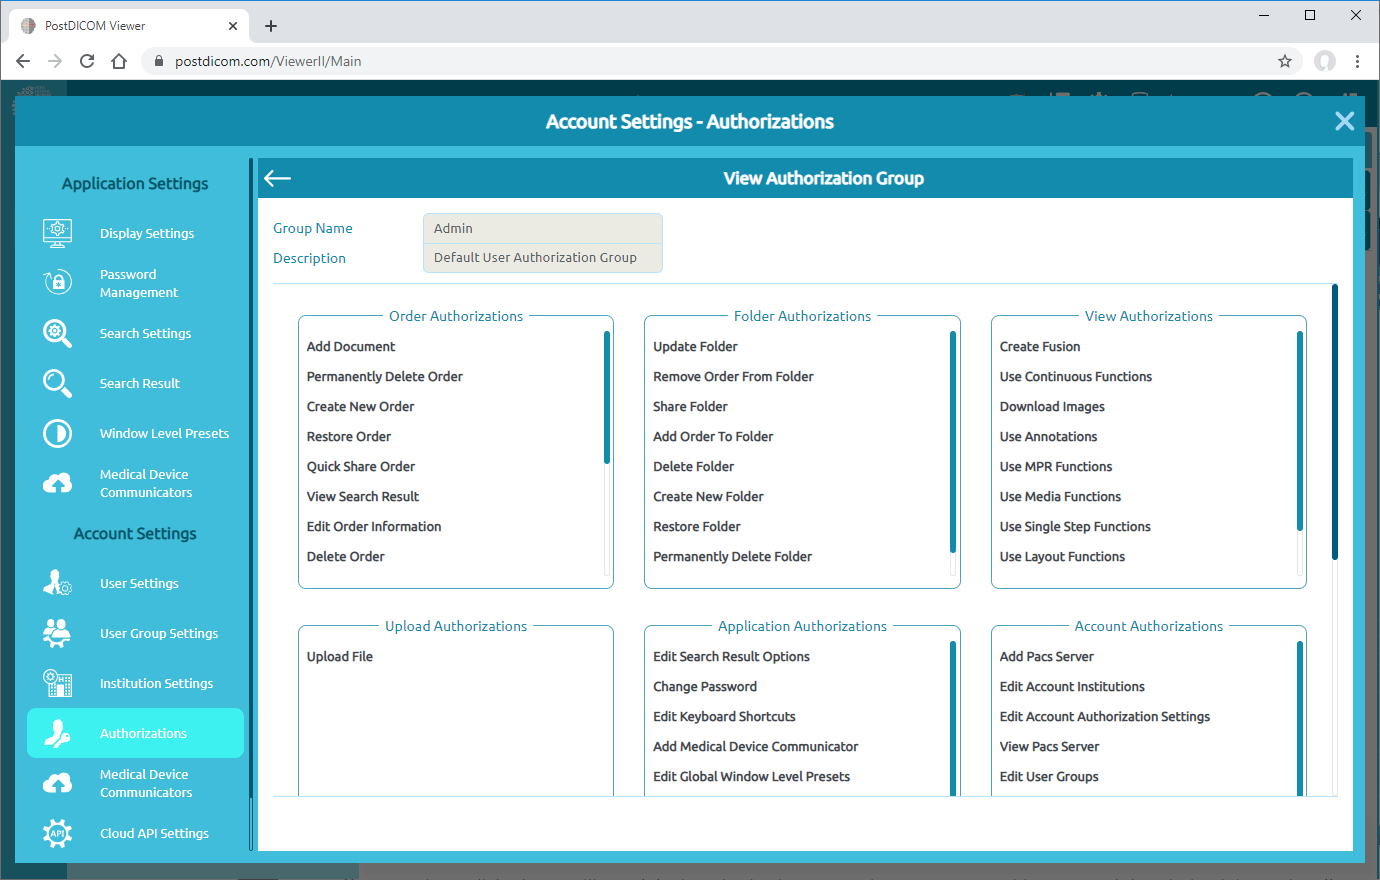
After clicking, you will see all the authorization groups with their contents.
Because they are default groups, you can not edit or delete them. But you can copy a group, edit as you want and save it as a different group. Click on “Copy” icon on the right side of the group to copy it.
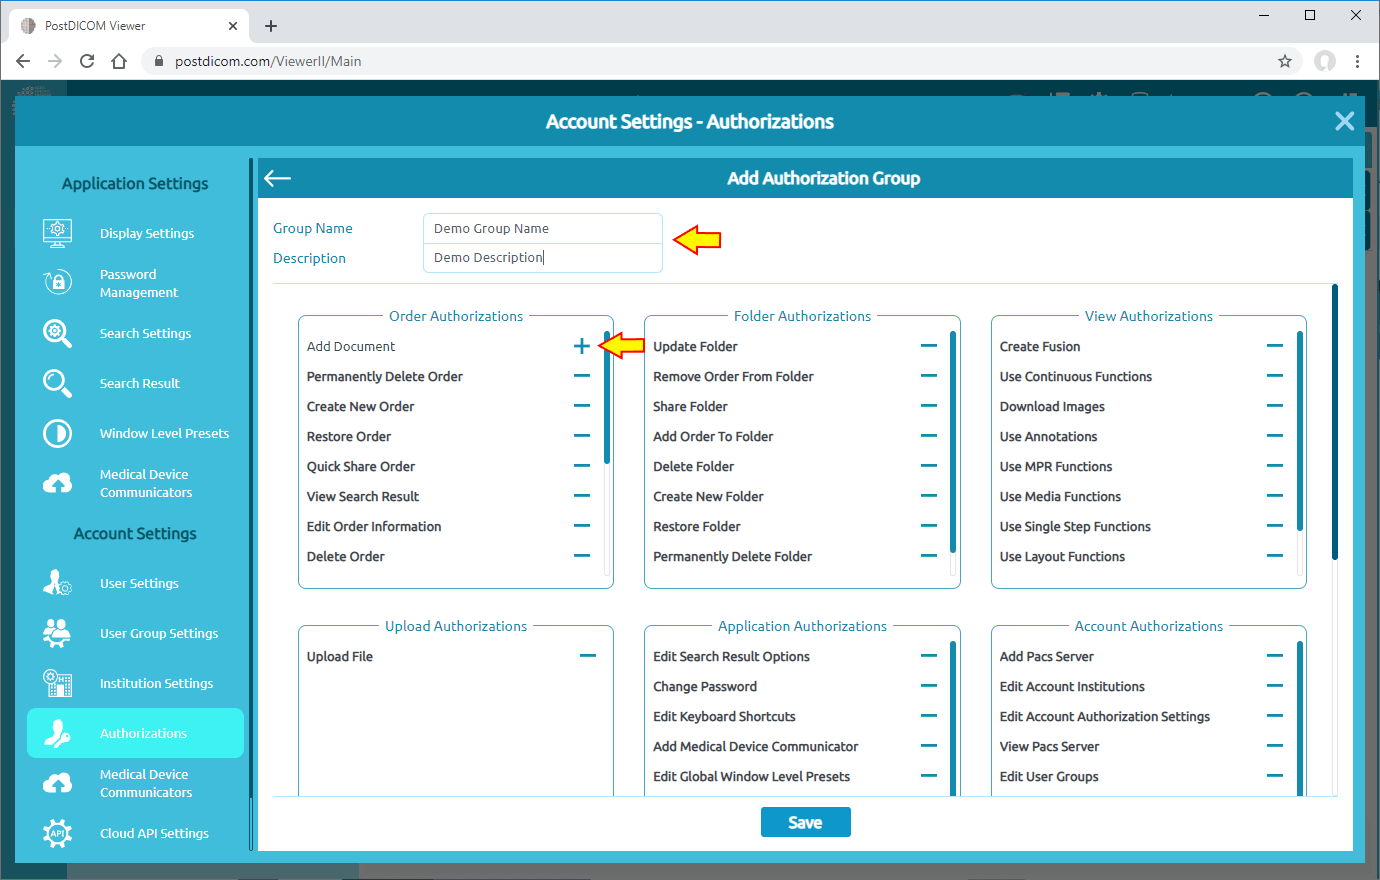
After clicking, “Add Authorization Group” form will be opened. You can add group name and description by filling the related blanks and edit the contents of authorization groups. You can add/remove an authorization by clicking on plus/minus icon on the right side of it.
After you edit the group, click on “Save” button to save changes. Edited authorization group will be added to the group list.
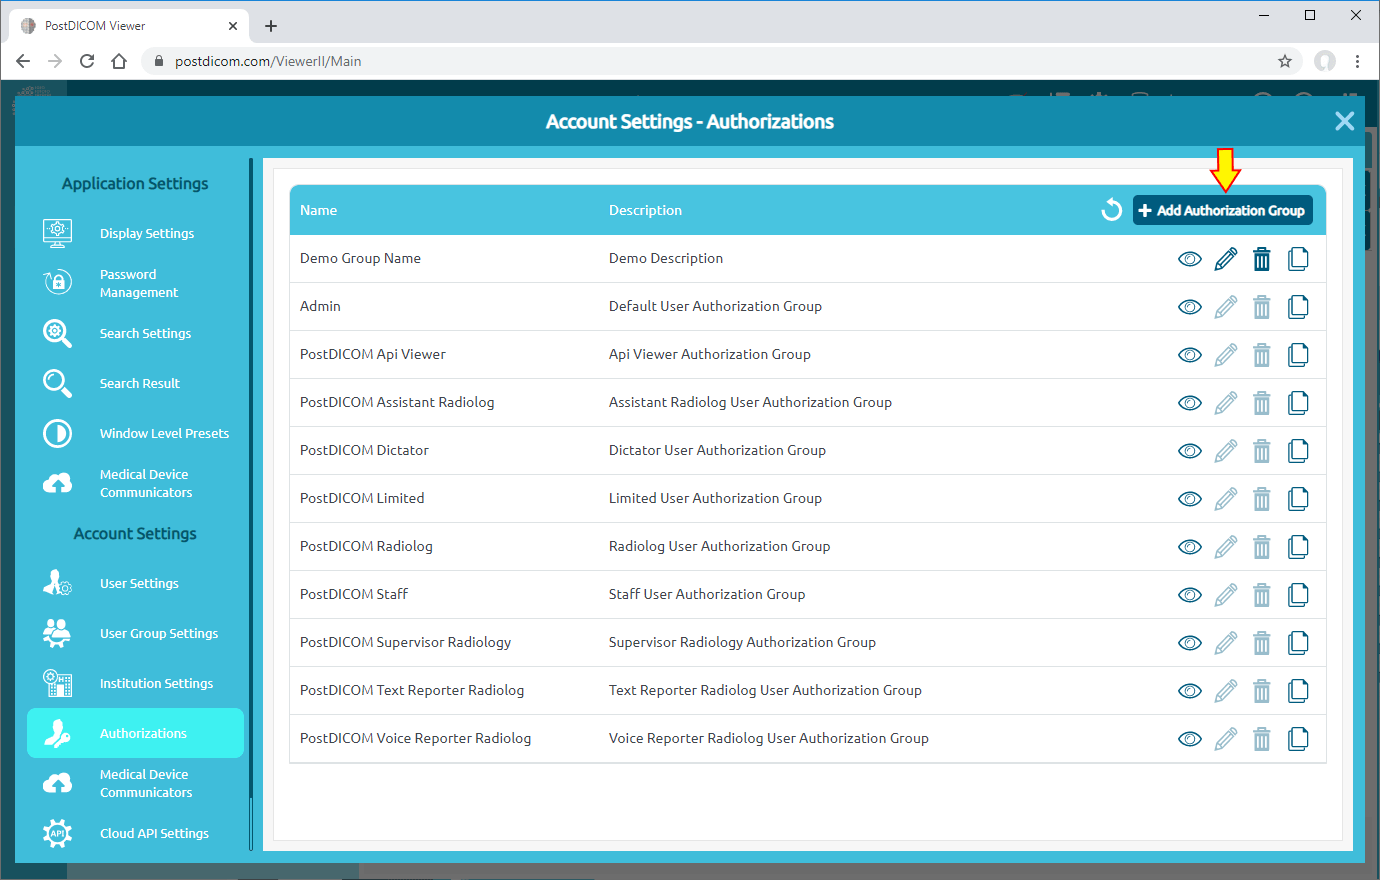
You can create a new authorization group by clicking “Add Authorization Group” item on the upper right side of the field.
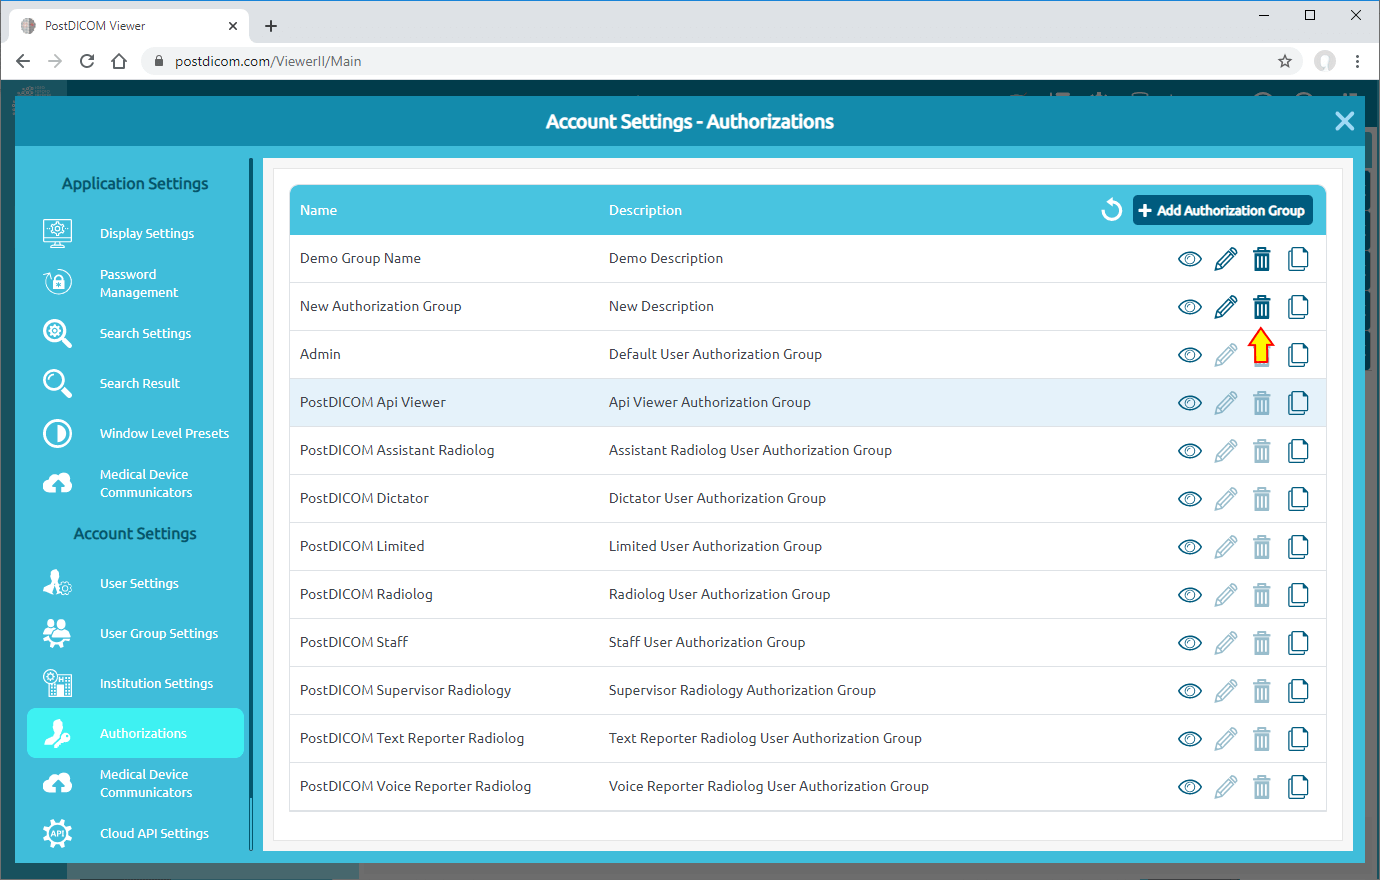
After clicking, “Add Authorization Group” form will be opened. You can add group name and description by filling the related blanks and add/remove an authorization by clicking on plus/minus icon on the right side of it. Then, click on “Save” button. The new authorization group will be added to the list.
You can edit a group by clicking “Edit” icon on the right side of it. After editing, click on “Save” button to save changes.
You can delete a group by clicking “Delete” icon on the right side of it.
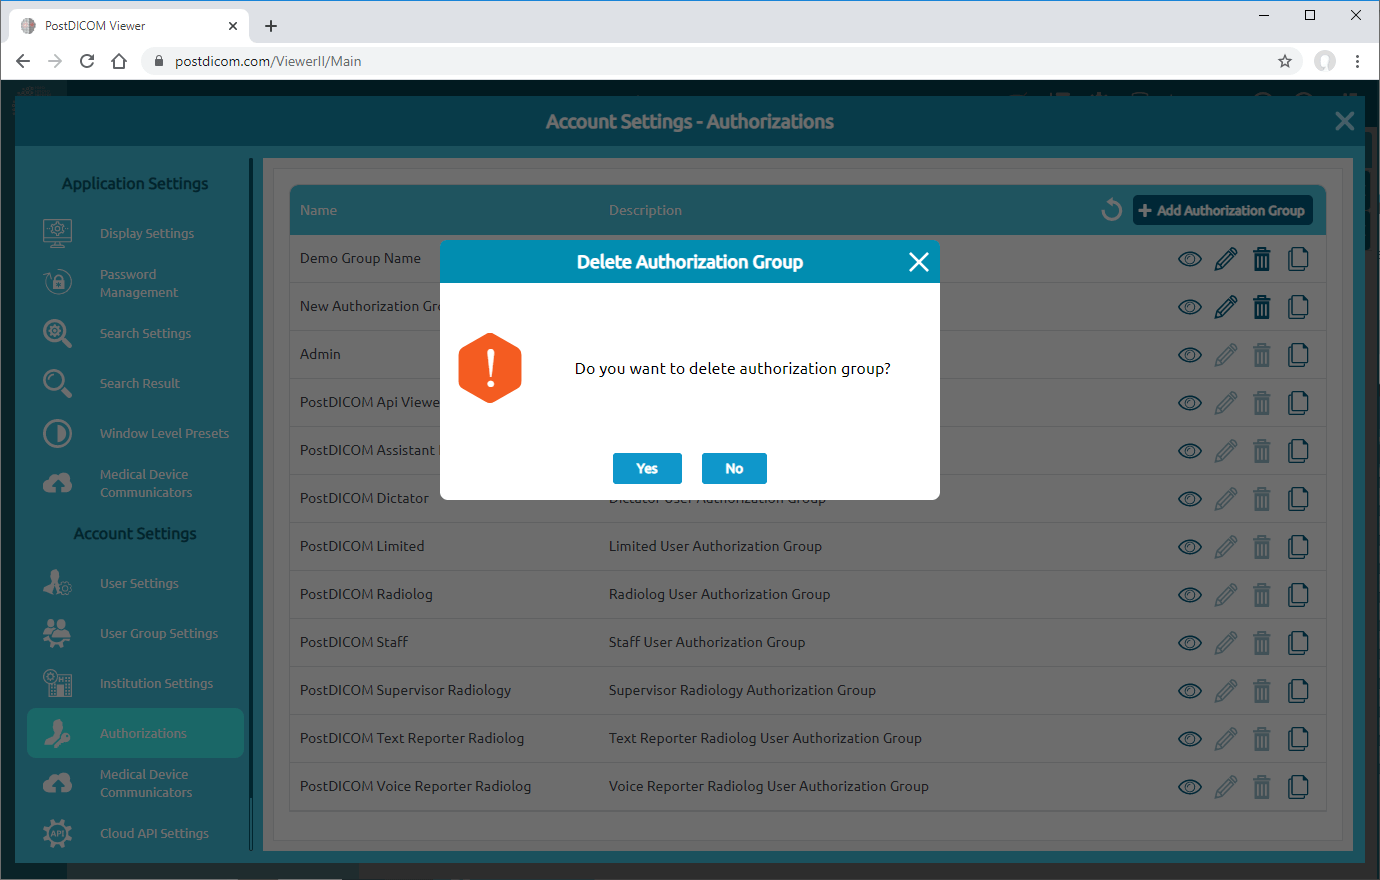
After clicking, a message box will be shown. Click on “Yes” to confirm that you want to delete the selected group. If you don’t want to delete it, click on “No”.
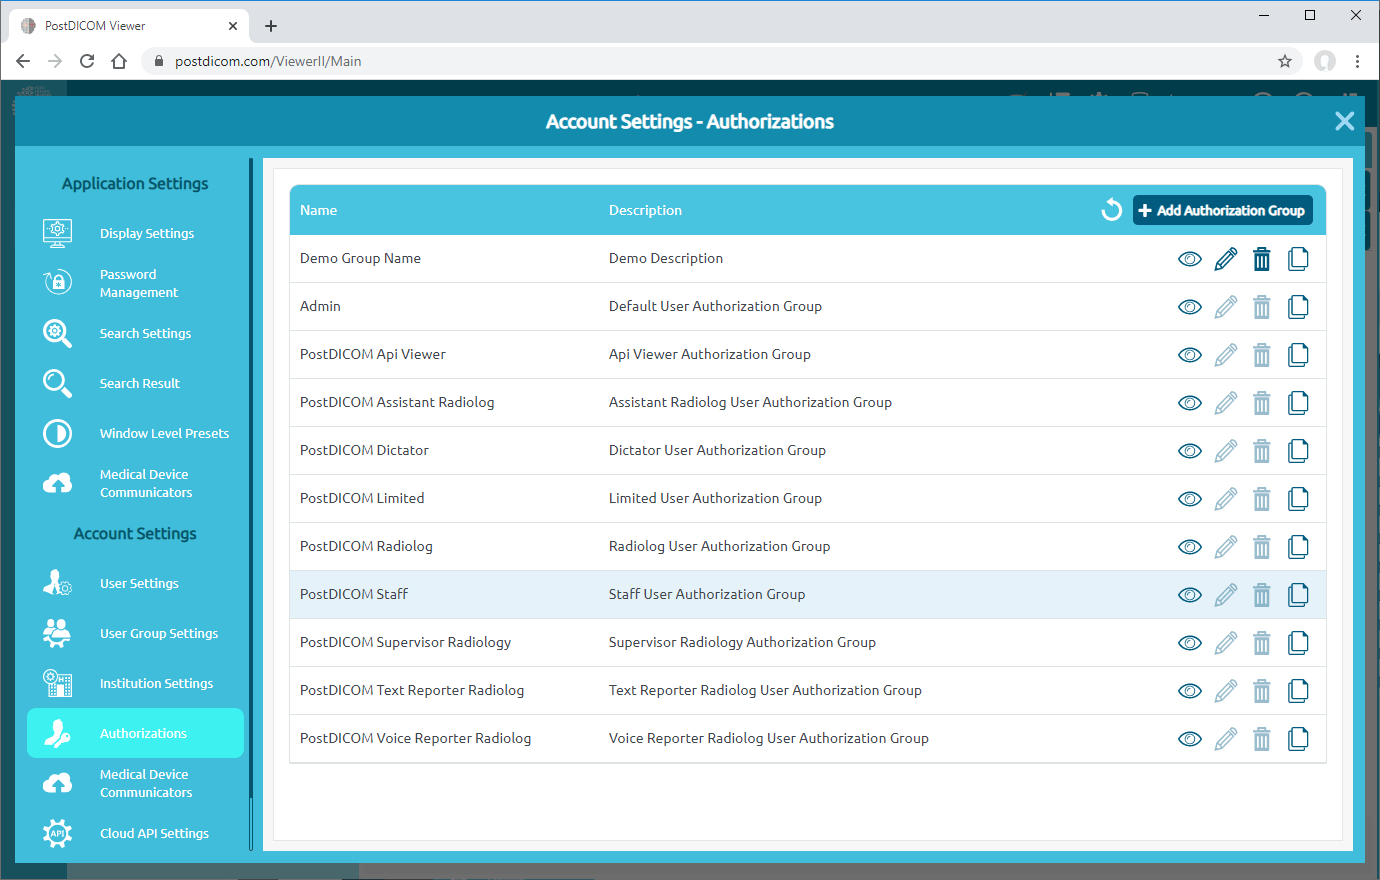
Once you have clicked to “Yes”, selected group will be deleted and the remaining groups will be shown in the list.