On “Patient Search” page, all patient orders at your account will be shown. Double click on the order you want to view the images. “View” page will be opened. Click on “Tools” icon on the upper left side of the page.
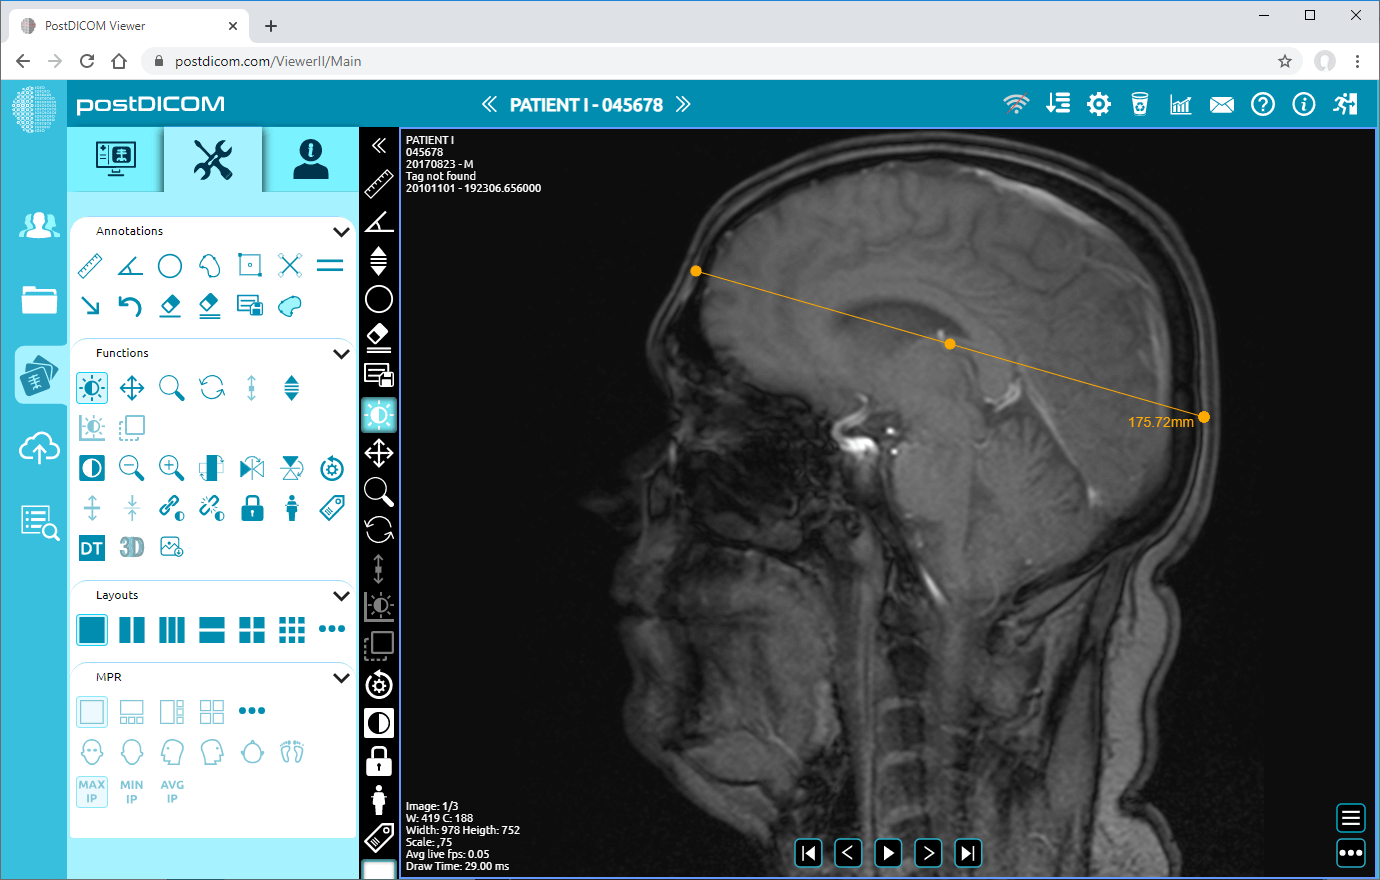
After you have clicked, tools section will be displayed. In “Annotations” field, click on “Ruler” icon on the upper left side of the section.
When you click on the icon, it will turn into blue color and a ruler sign will be shown at the bottom of your mouse pointer. Click on the starting point of the distance you want to measure and move your mouse to the end point. Until you click, the distance will appear in blue color. Click on the end point of the distance and then it will turn into yellow. You will see the distance value next to the end point which is the actual value of the measured distance.
If you need to measure another distance, click on start and end points of new measurement. Right click to exit from measurement tool. Mouse pointer will return to default function.
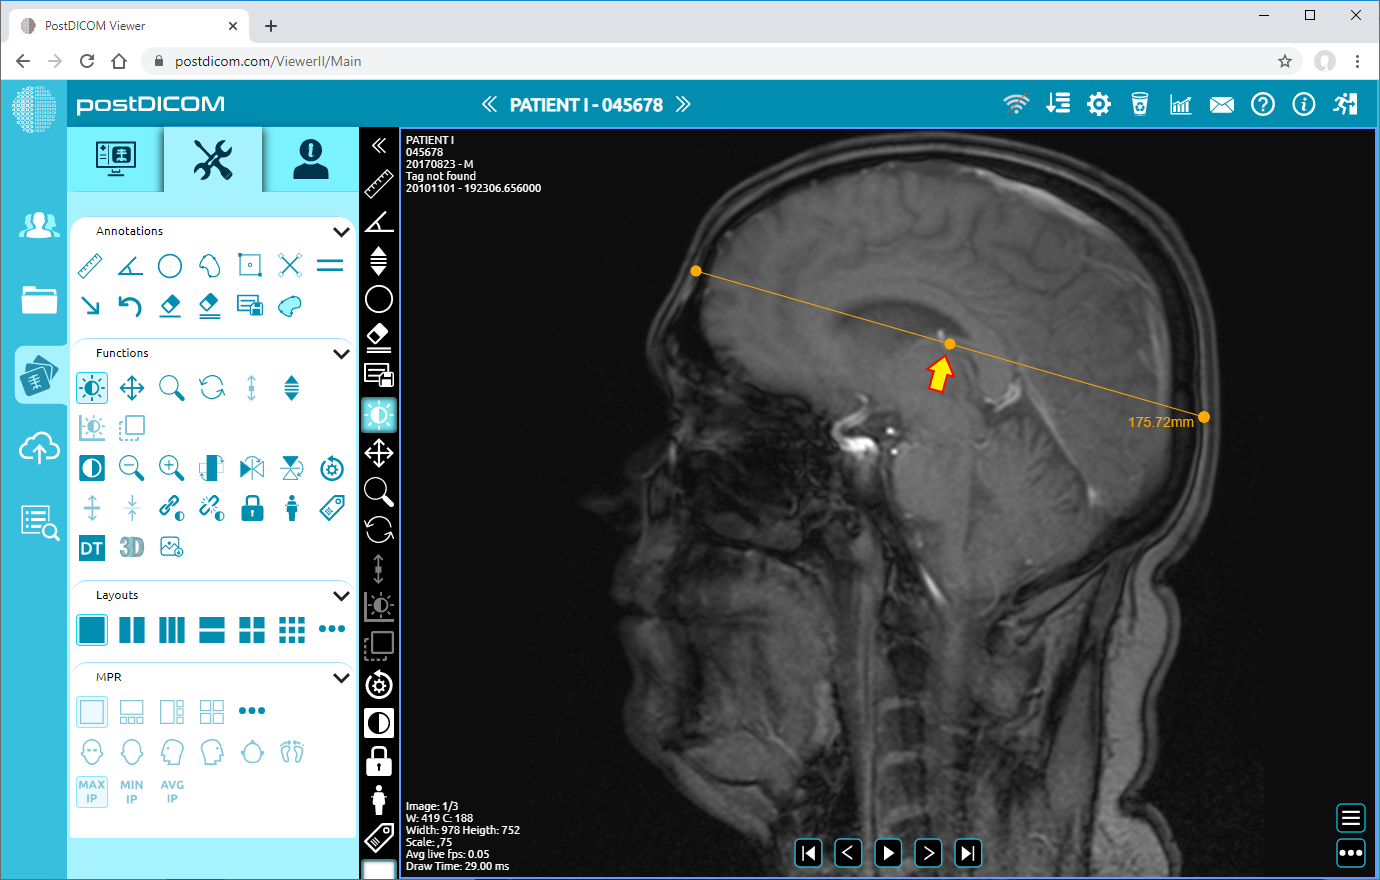
In order to move the line, right click to exit from the function, click on the point in the middle of the line and drag your mouse to the direction you want.
In this way, you can measure any distance on the view with its actual value.