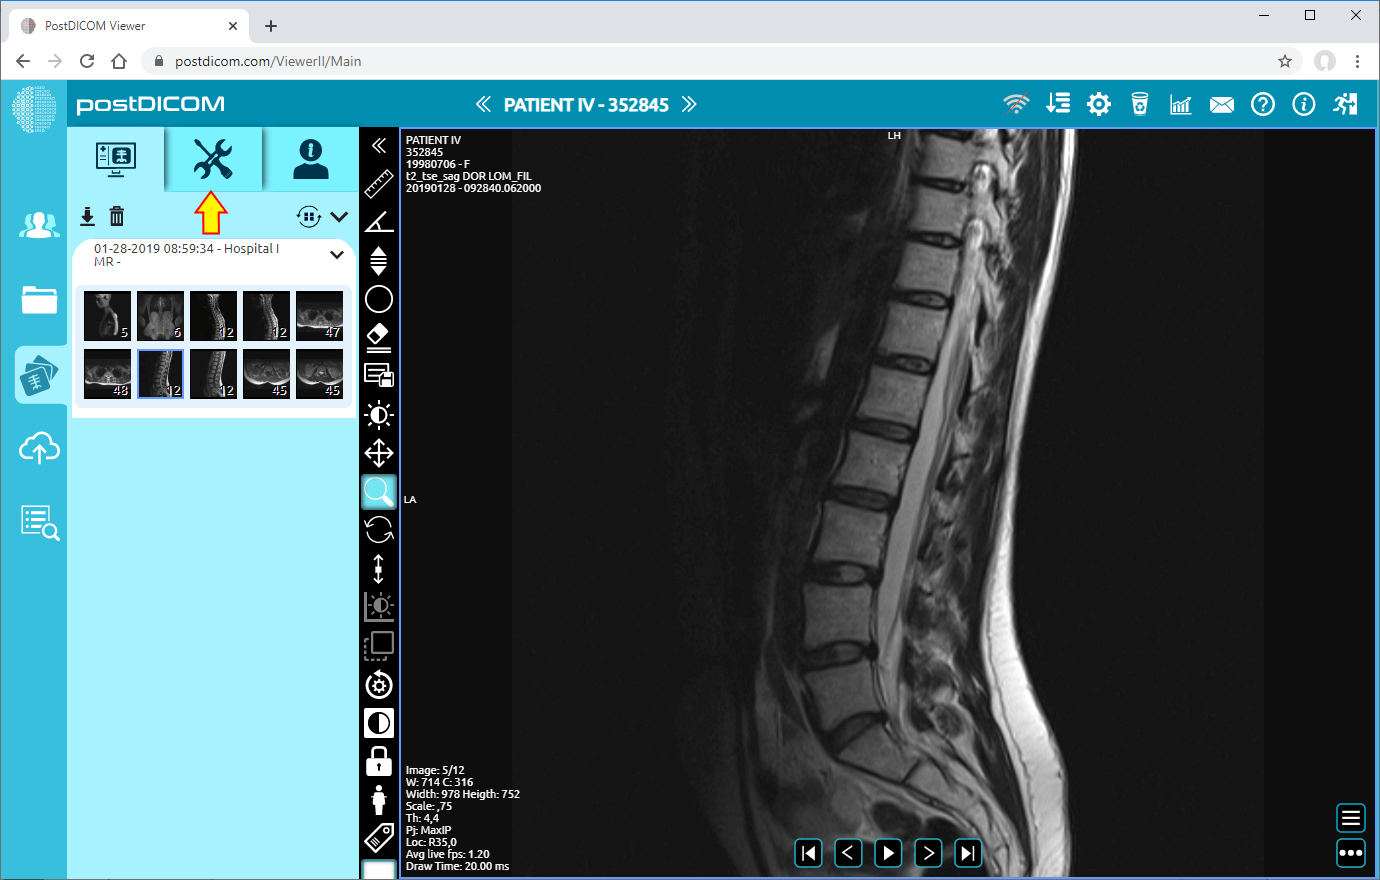
On “Patient Search” page, all patient orders at your account will be shown. Double click on the order you want to view the images. “View” page will be opened. Click on “Tools” icon on the upper left side of the page.
After you have clicked, tools section will be displayed. In “Annotations” field, click on “Arrow” icon on the upper side of the section.
Before use annotations, you must view an image on the viewport. When you click on the icon, it will turn into blue color and an selected annotation's sign will be shown at the bottom of your mouse pointer.
When you click on the icon, it will turn into blue color and an arrow sign will be shown at the bottom of your mouse pointer. Click on the point you want to enter a description on the view. After clicking, an input box will be opened. Enter your description in the relevant blank and click on “OK” button. If you want to exit from the input box, click on “Cancel” button.
Once you have click on “OK” button, your description will be shown on the view
If you need to enter another description, click on the view and follow the same steps.
Right click to exit from the tool. Mouse pointer will return to default function.
In order to move the description, right click to exit from the function, click on the arrowhead and drag your mouse to the direction you want.