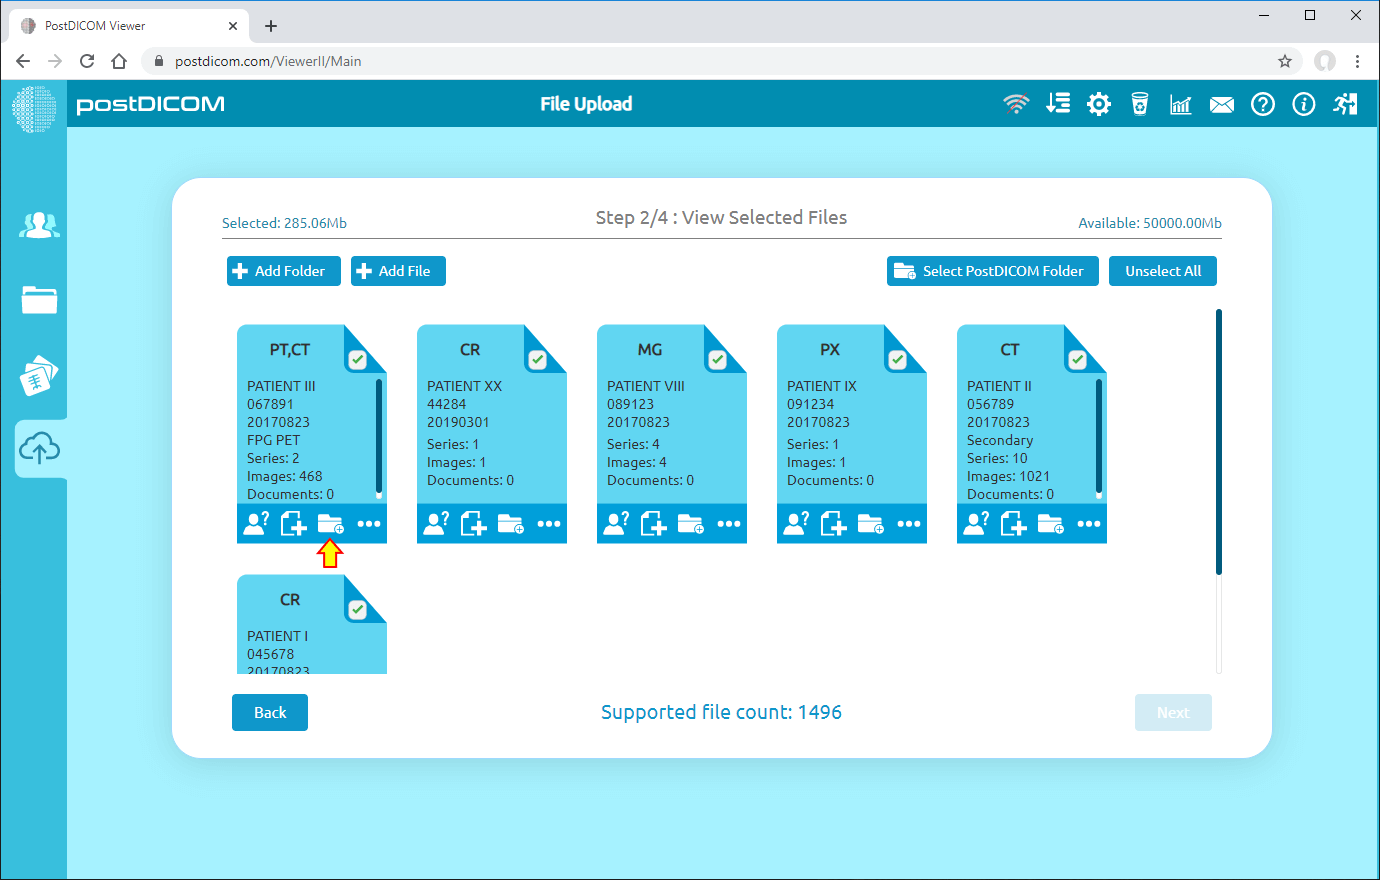
On "Step 2/4: View Selected Files" page, you will see all Patient Study Previews. At the bottom of each patient study preview, there are 4 buttons namely anonymize, add clinical documents, assign study to a folder and show study details. In order to add patient studies to folders, click on the folder shaped icon.
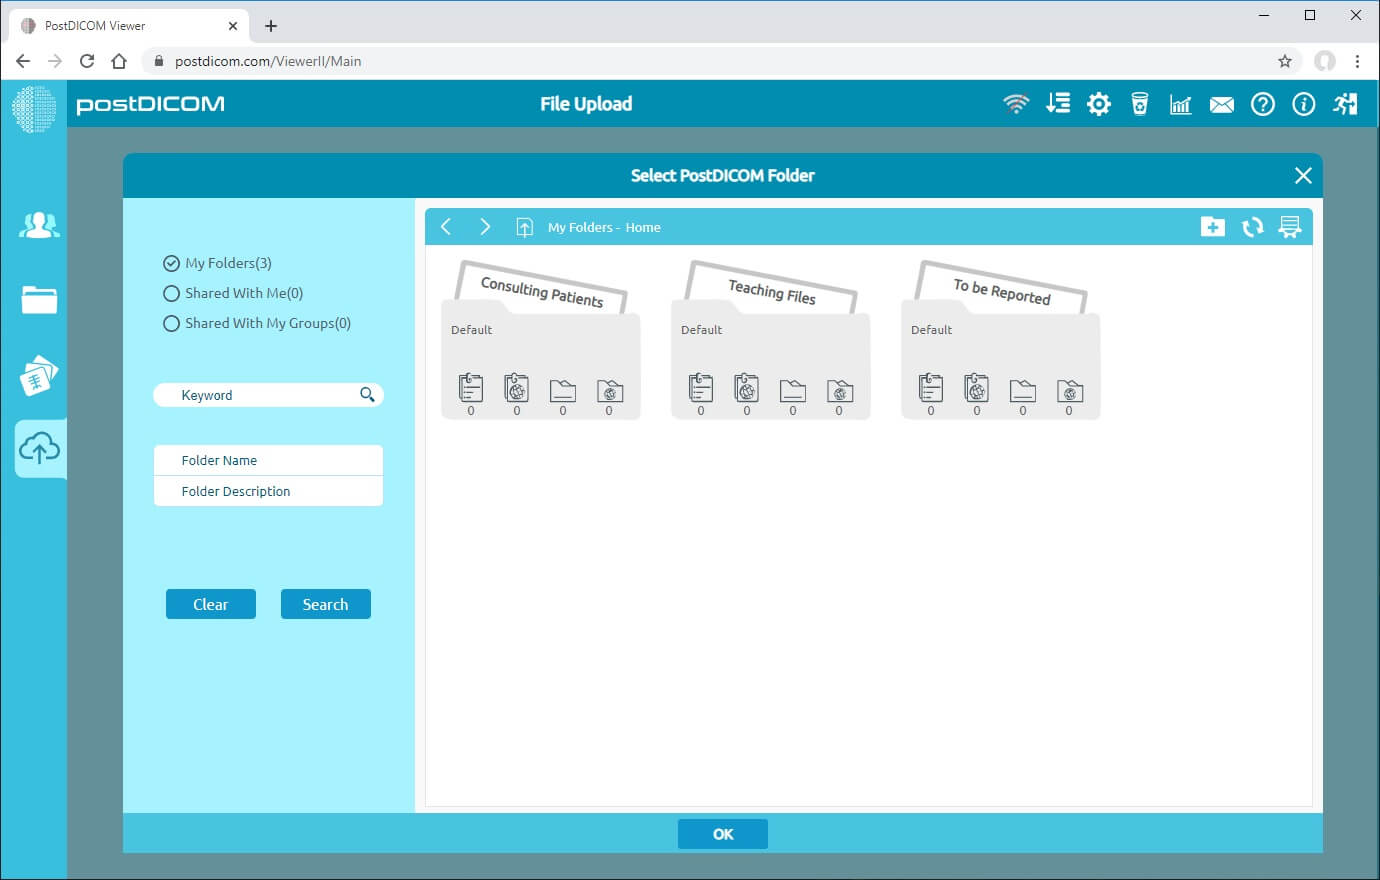
After clicking on the icon, Folder Selection form will be shown. There are three default folders namely Consulting Patients, Teaching Files and To Be Reported. You can add the medical images into these folders or you can create a new folder and assign to that.
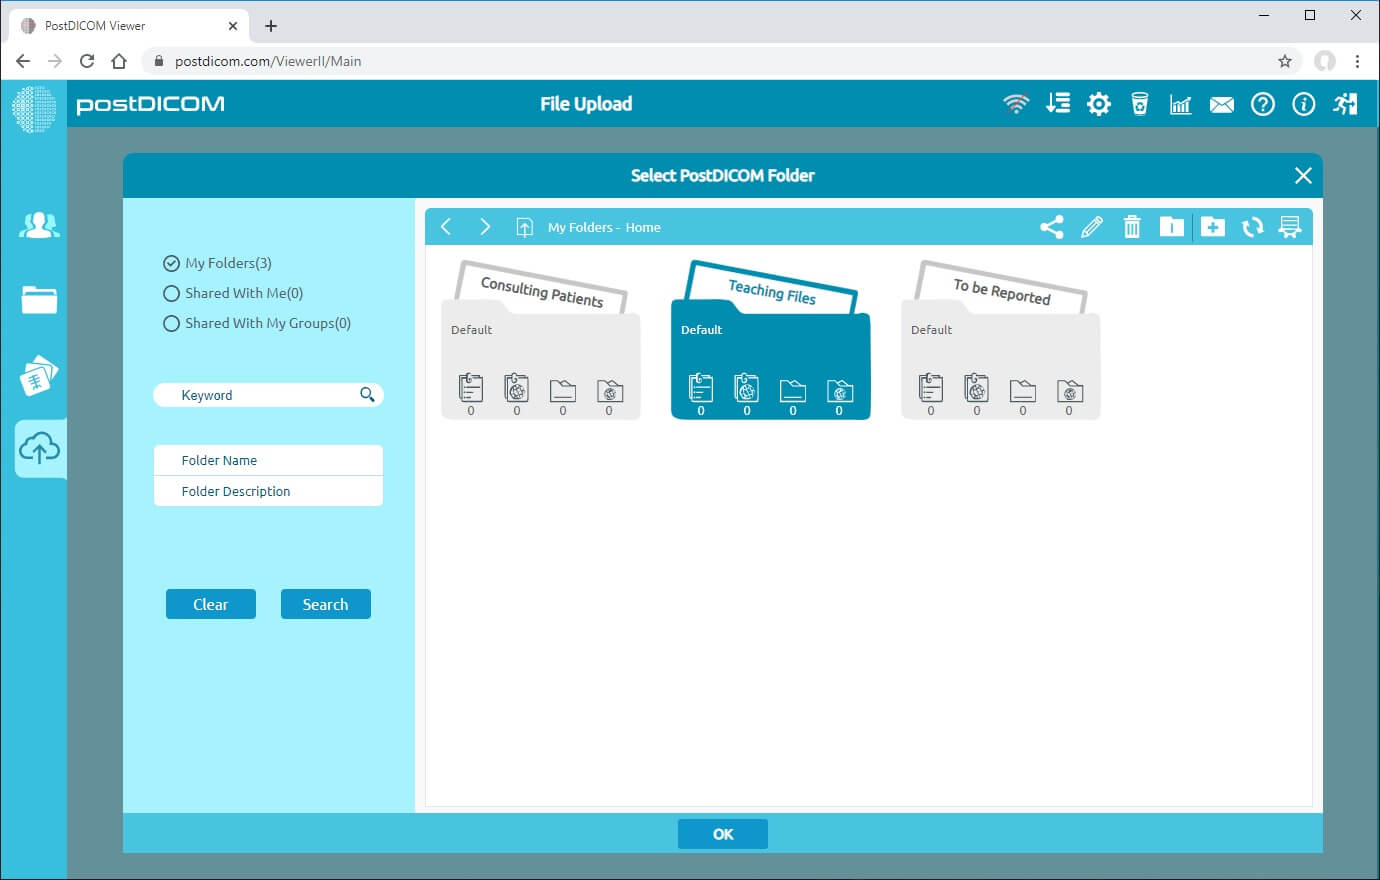
When you select a folder by clicking on it, it is displayed in blue colour and not selected folders remain in gray. If you click on it again, it will be deselected and turn into gray.
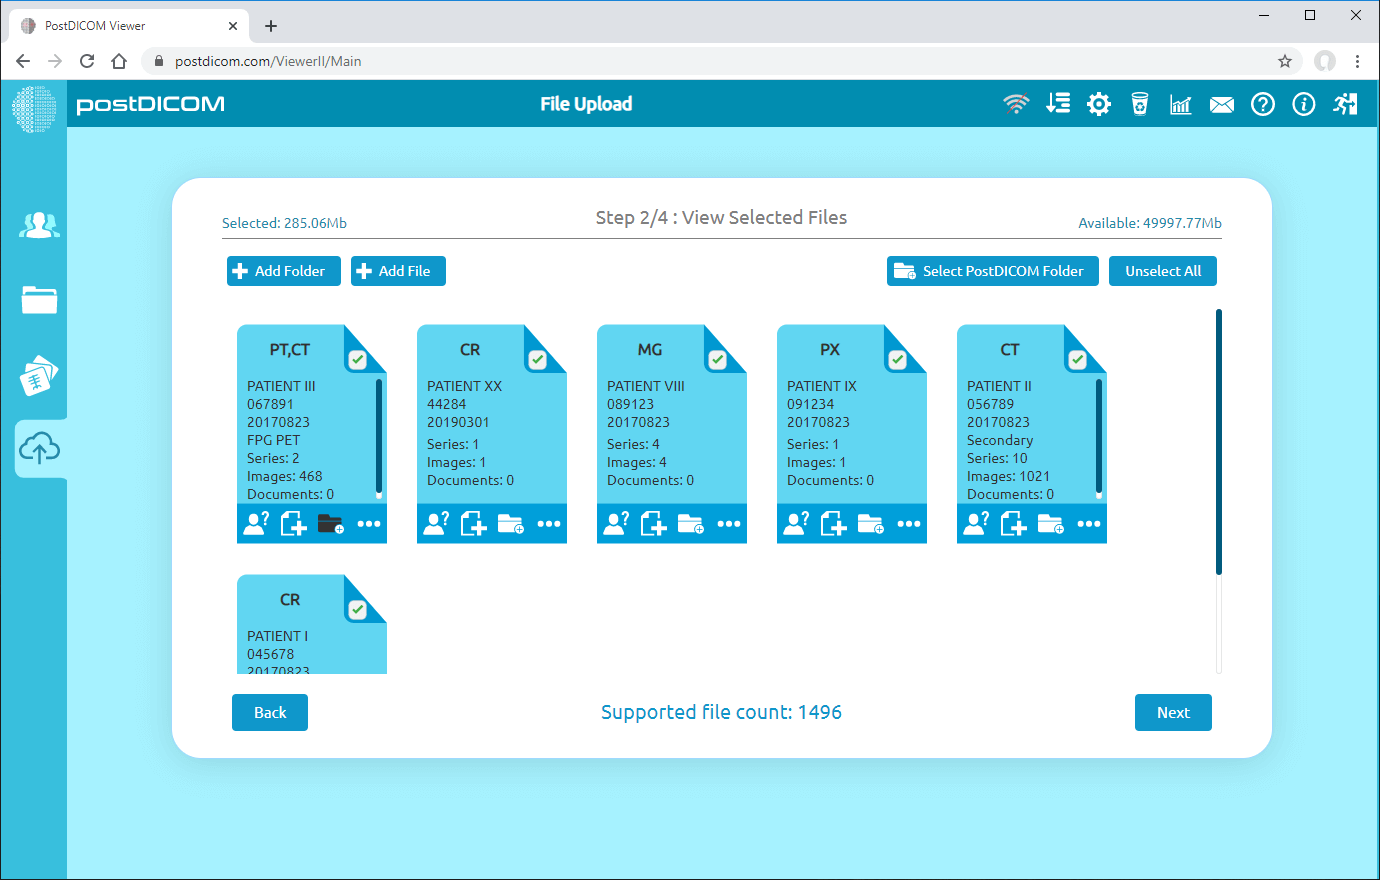
Once you have selected the folder, click on "OK" button to save it. "Select Folder" icon which was previously white colour will turn into black.
In this way, you can add (assign) any Patient Study to a folder before uploading to postDICOM cloud.